A quick introduction on Curvorama
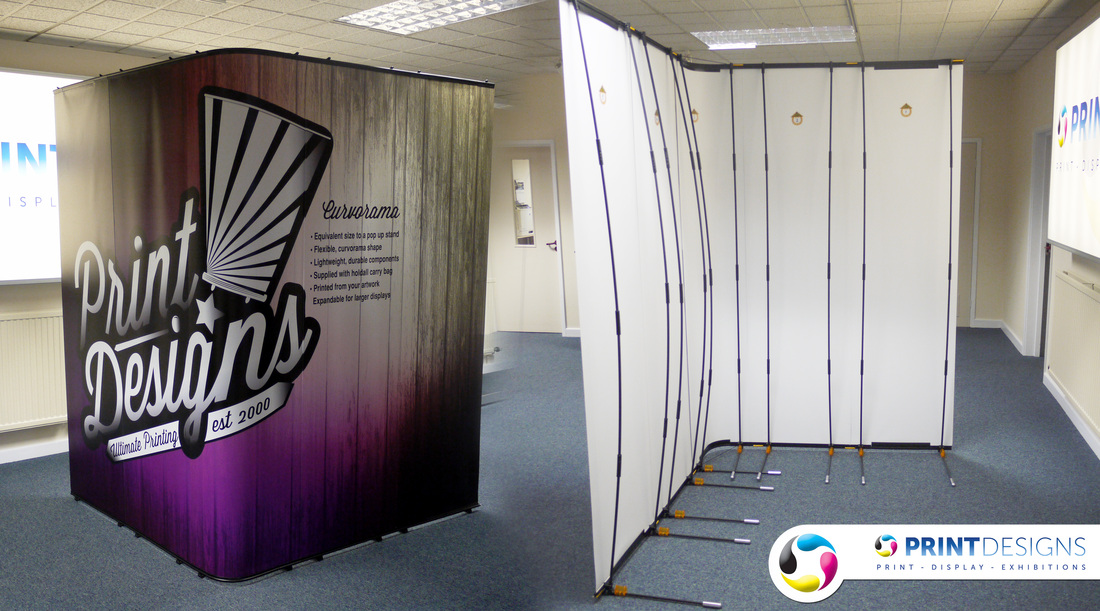
Curvorama is a revolutionary new type of banner display system that has the capability's to free-stand or be hung onto most common exhibition scheme walls. Until now, linking banner stands have incorporated magnetic tape on the rear of the panel and equivalent magnetic channel bars to pull the seams between panels together. Graphic panels for the Curvorama stand are produced differently with an exacting amount of bleed so that each panel overlaps and tiles together neatly and without the requirement for complicated or fiddly magnetic components.Thanks to the use of lightweight plastic and composite components, Curvorama display stands are lightweight and easy to transport. There are no heavy, wheeled plastic cases or aluminium cassettes to haul around as is the case with traditional pop up and banner stands. This makes Curvorama the ideal portable display solution for those who are exhibiting overseas or transporting exhibition materials by car.
Now lets start with how to assemble the Stand
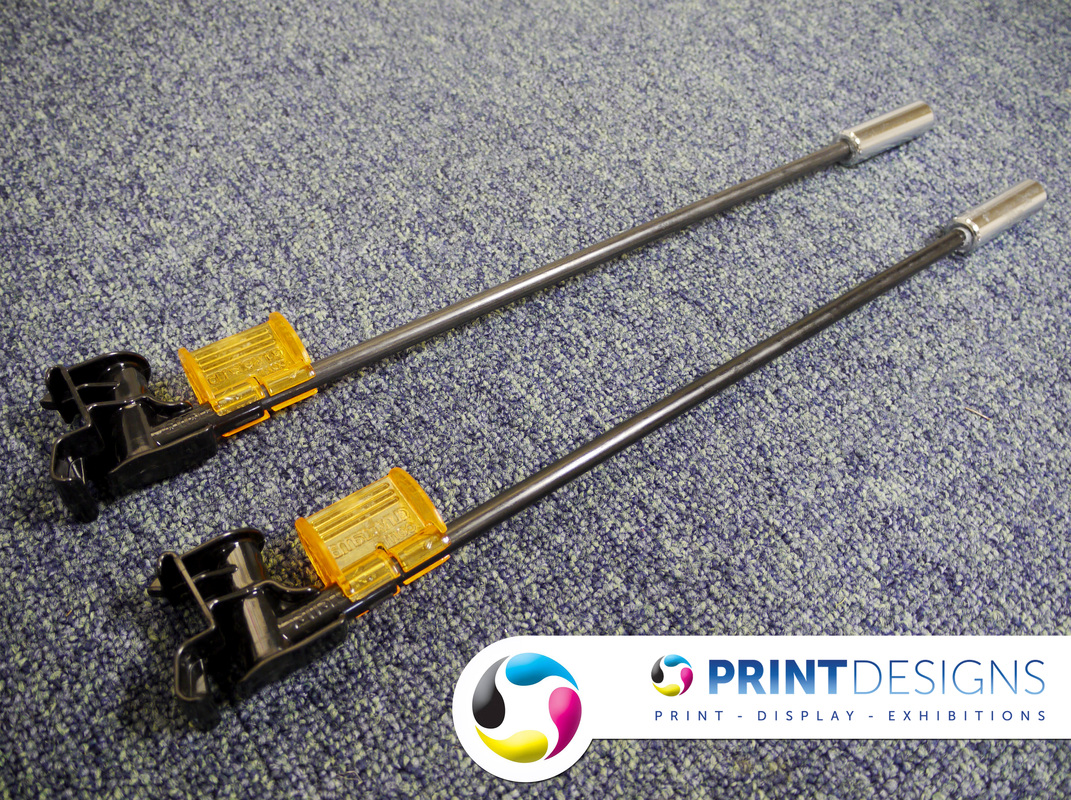
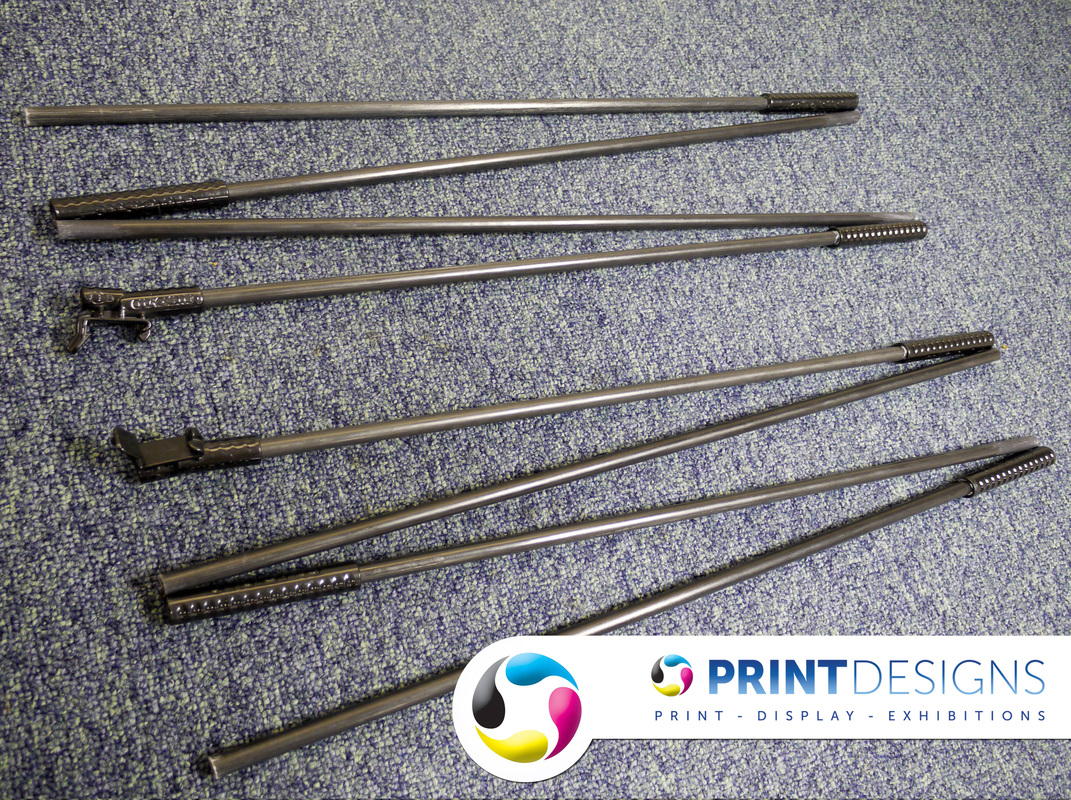
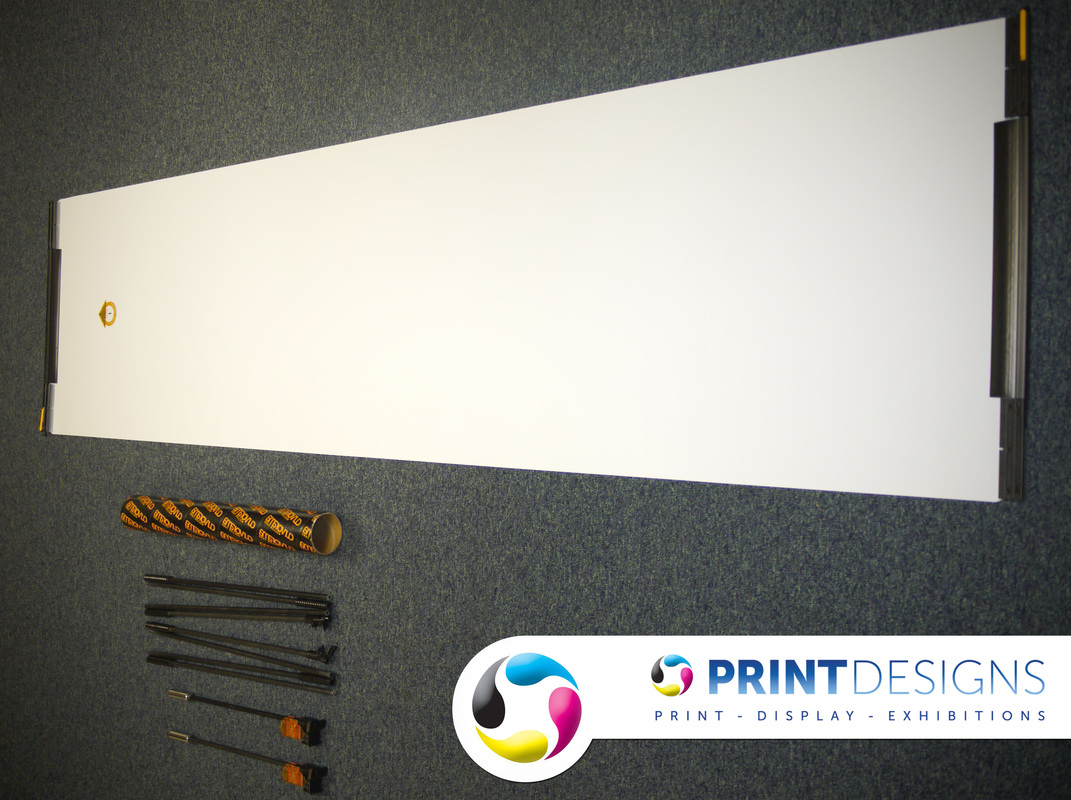
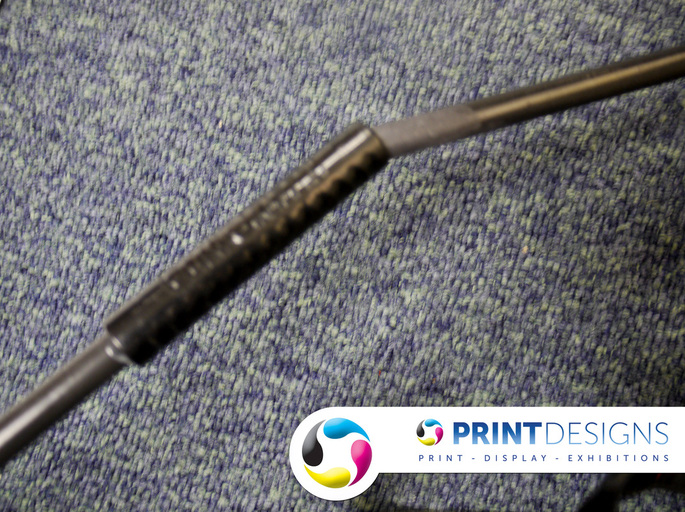
Above are the two Curvorama legs which are needed for each panel to stand free. Each leg is weighted at the back to prevent the stand from tipping forwards. The image below shows the two poles which when connected together, provide vertical strength to free standing panels.
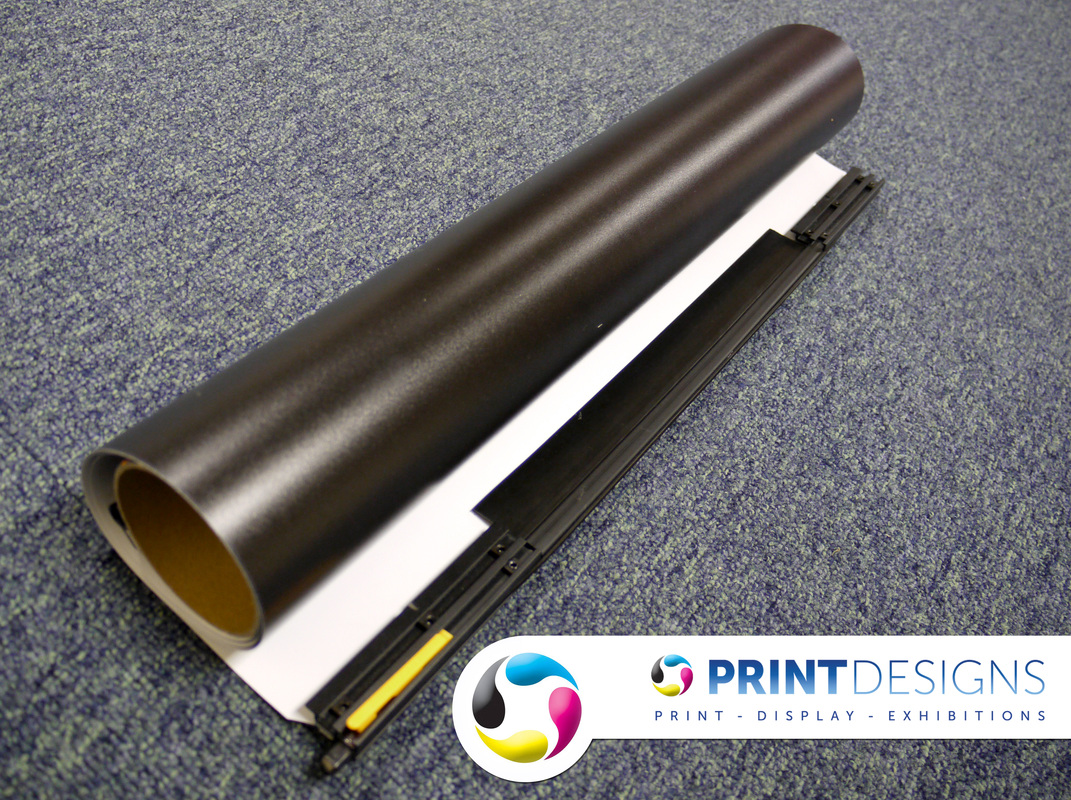
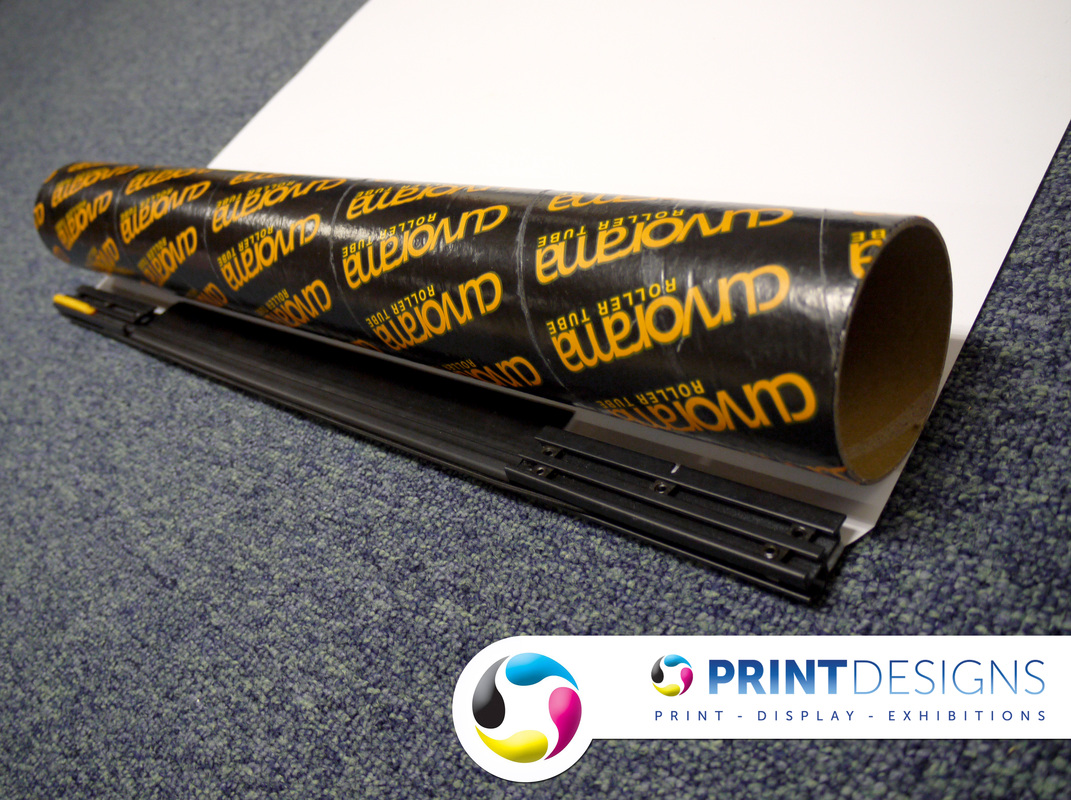
Each Panel will come wraped around a Curvorama tube to stop the panel from denting/ creasing during transportation. The tube will also keep the graphic from gaining any curves/ creases in the panel which may be visible when erected.
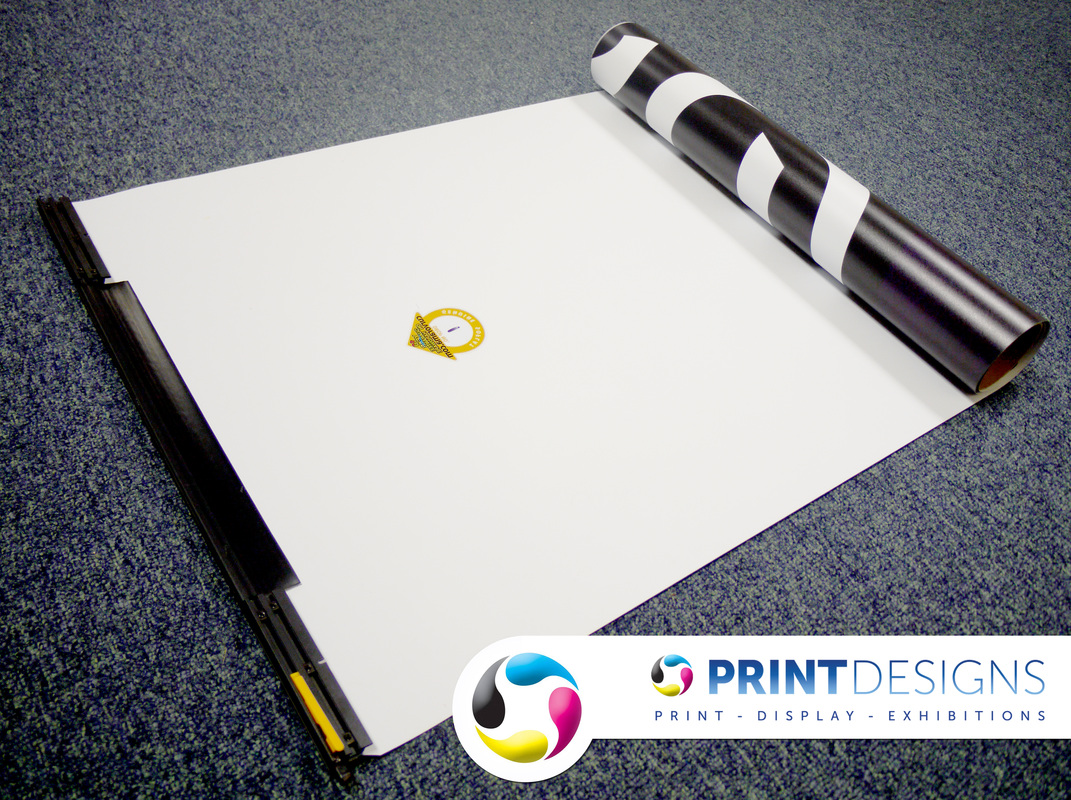
Each panel should come numbered if the graphics are built up into a sequence to create a larger design. When designing the panels bare in mind if you want to use the panels separately and in sequence ,you will need to account for this in your design work so they can be used both ways.
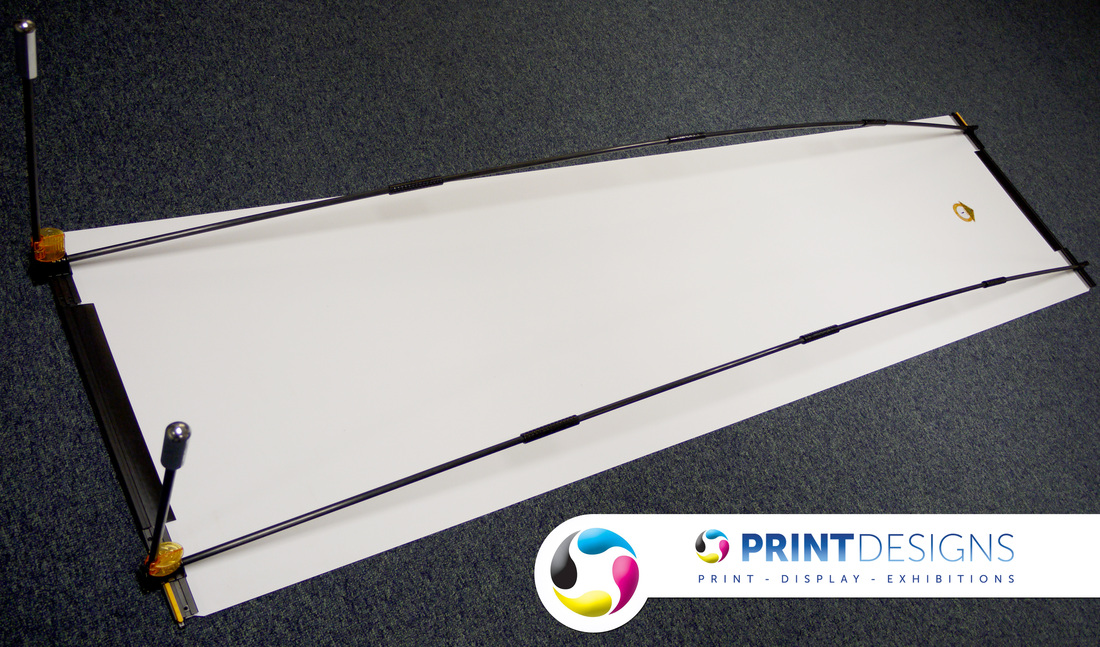
The Image below shows all the parts that you will need for the panel to be free standing.
Next you will need to connect the poles together by sliding them into the slots. Please be careful when taking the poles apart when putting the stand down, as the glue with hold the adapters together can sometime give way. This will not break the poles but can cause issues when putting the poles back into the carry case.
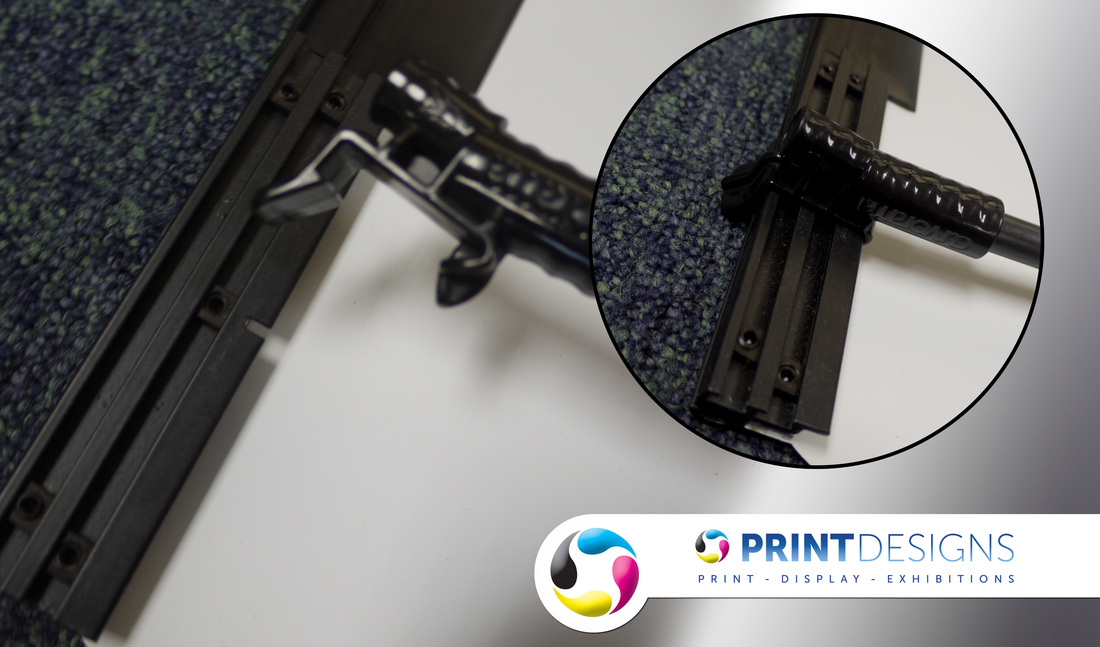
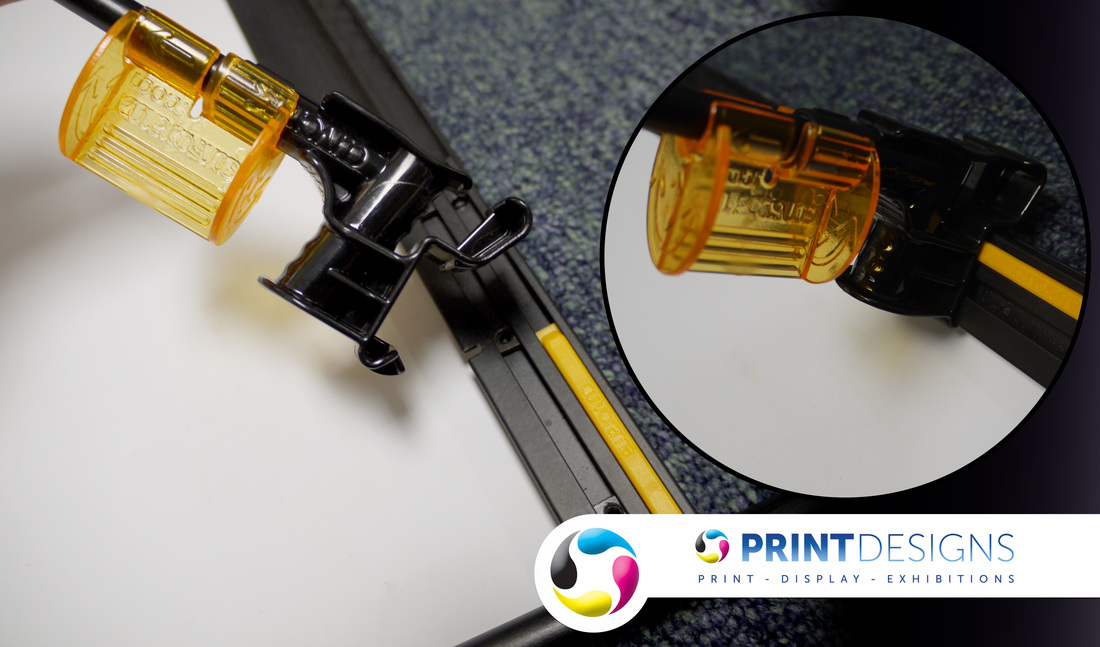
Once the poles have been connected, The head at the top of the pole clips either side of the rail at the top. The head will fit into the grove cut into the rail,The image below shows a example of this.
Next ,clip the feet into the groove in the rail at the bottom of the rail. you will find it easier to not attach the poles to the feet first as this can make it hard to get the feet to connect to the rail.
Once you have the bottom feet connected slide the poles into the feet. This will now enable the stand to stand free standing on its own.
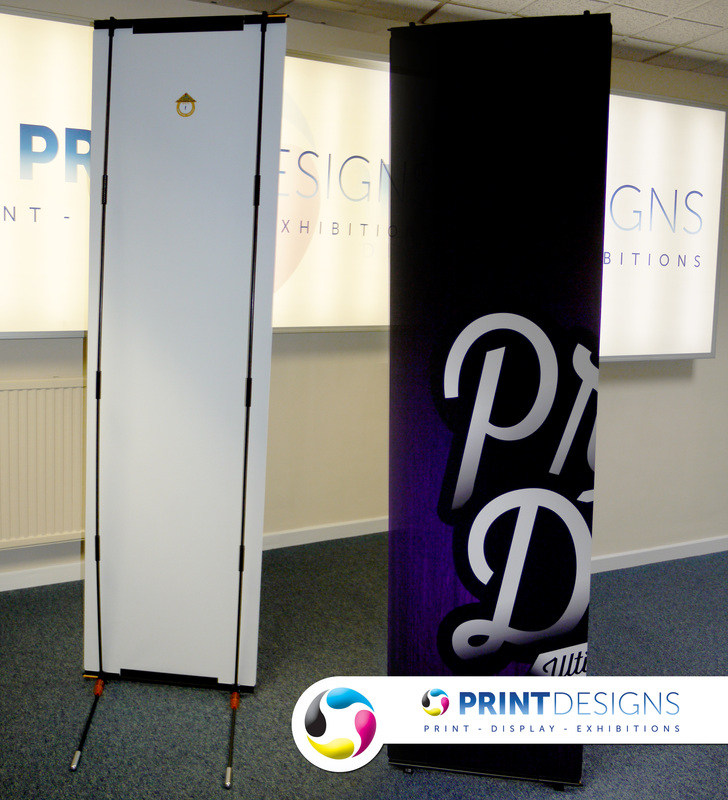
To get the Curvorama panel to now free stand. take the stand half way down the poles and stand it up vertically. With the panel being light weight anyone should be capable of this.
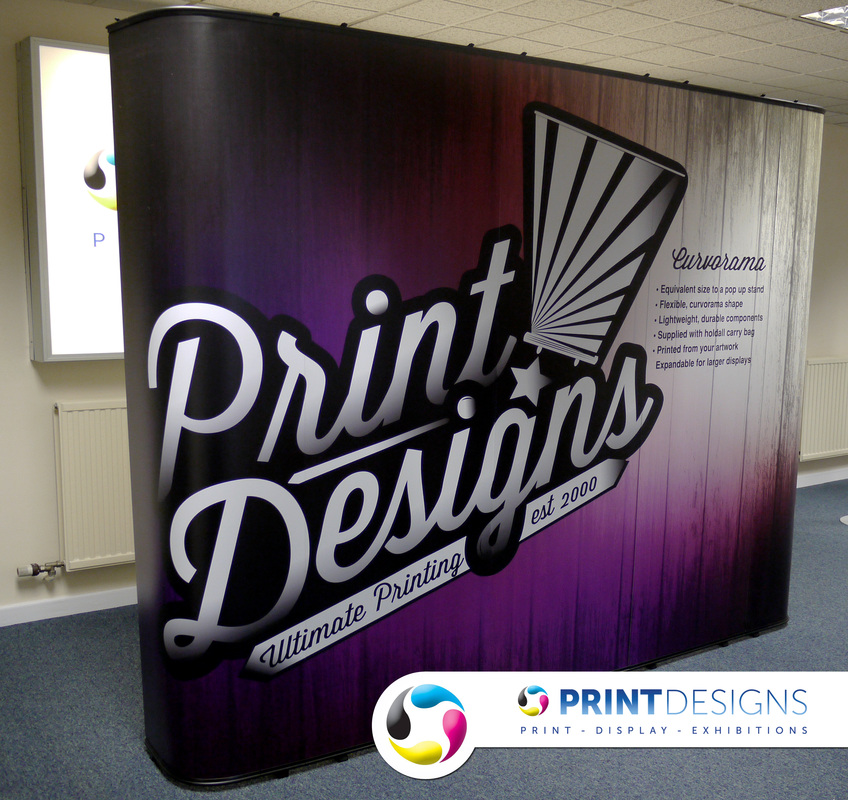
The image above shows what the Curovrama stand should look like free standing from the front and behind.
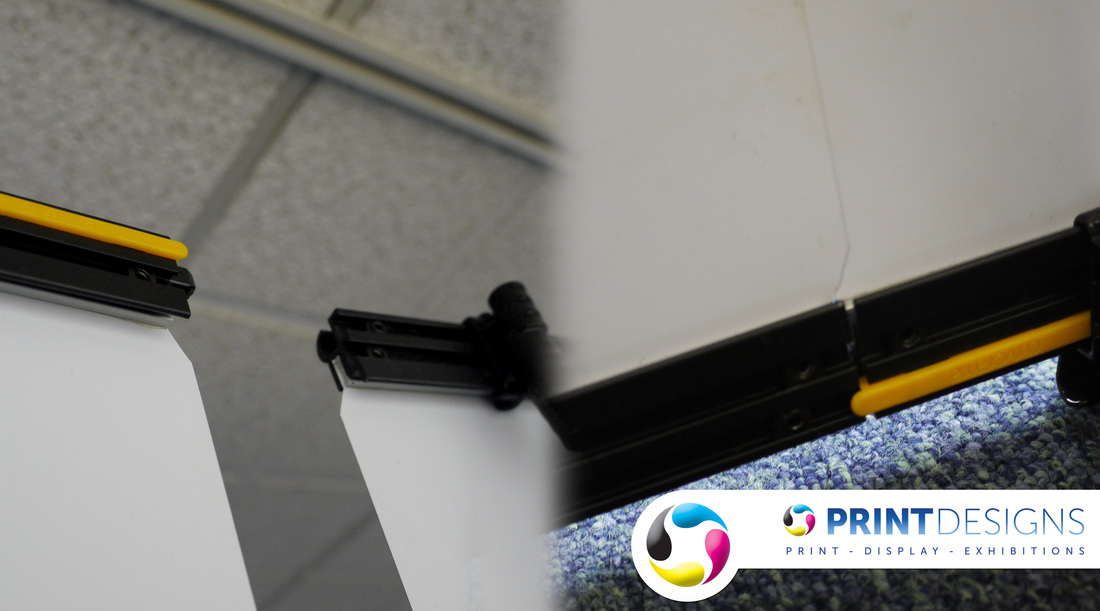
In the ends of each of the rails, there is a slot left open on the one side & a entry hole left on the opposite to allow curovorama panels to be connected together. To Connect the panels together the notch needs to be slid into the opposite entry hold on the panel. This needs to be done for the top and bottom of the panels.
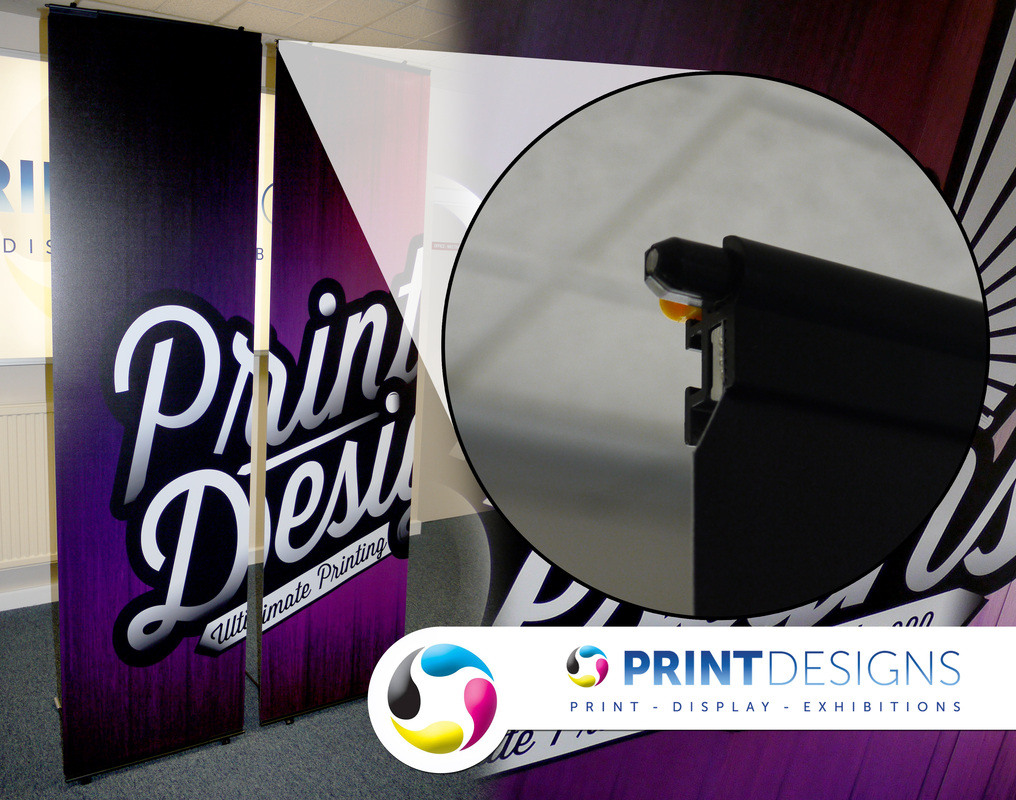
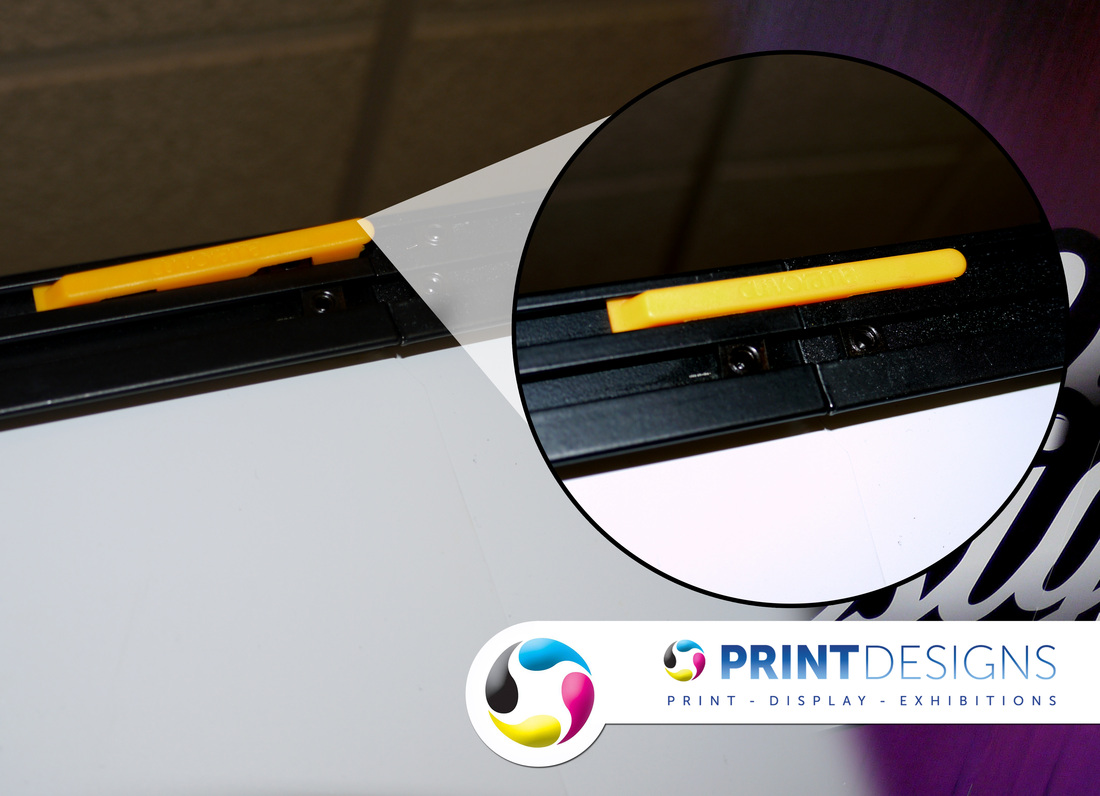
Once thetwo stands have been connected there is a yellow joining clip which needs to be connected between the two panels. This strengthens the connection to stop the banners from coming apart. To get the slider to slide across, pull the yellow clip out on the one side then pull the yellow clip across to the other banner and then push the clip back in. This needs to be down for the top and bottom of the rail.
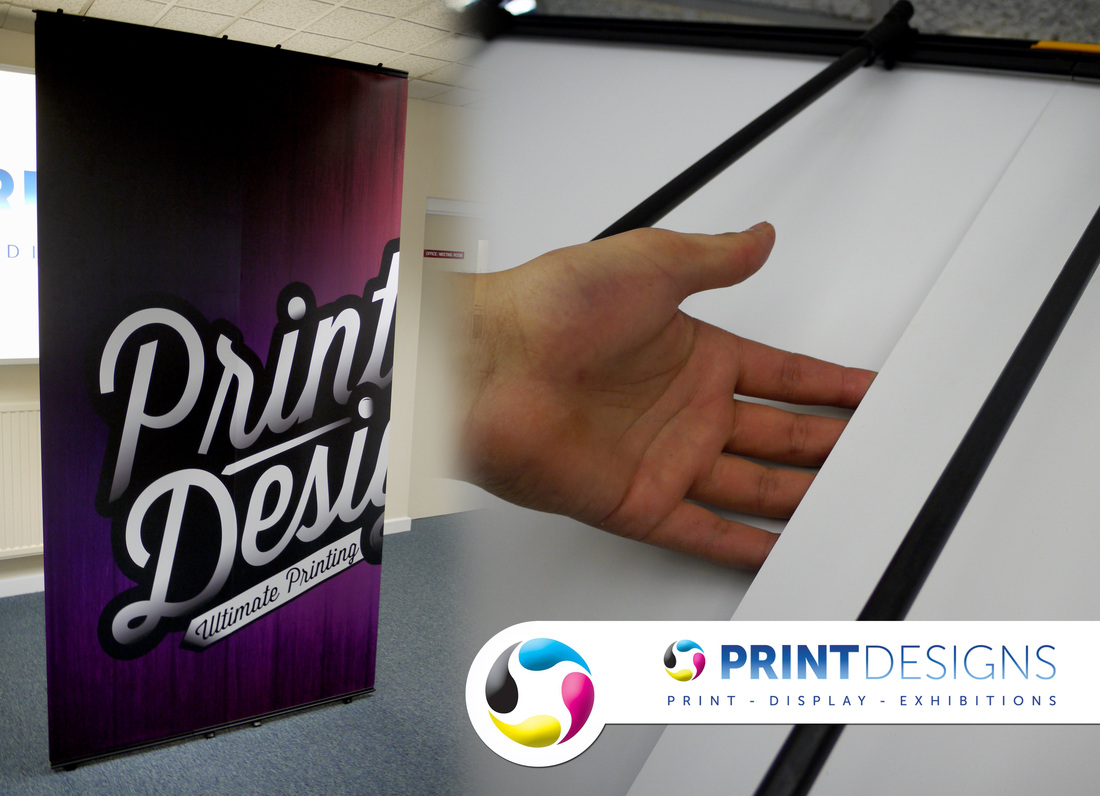
Once you have connected the two panels together, slide your hand between the two panels to get the to sit flush with each other. It does not matter which panel sits over which, as they will match up either way.
And that's all there is to it. Simply repeat the same steps for each panel to assemble multiple panels together. Once all your panels are assembled, it is up to you how you want your curvorama panels to sit. Remember that if you want all your panels to have the ability to curve, they all will need curve rails as some of the will have straight rails which will not allow them to curve.
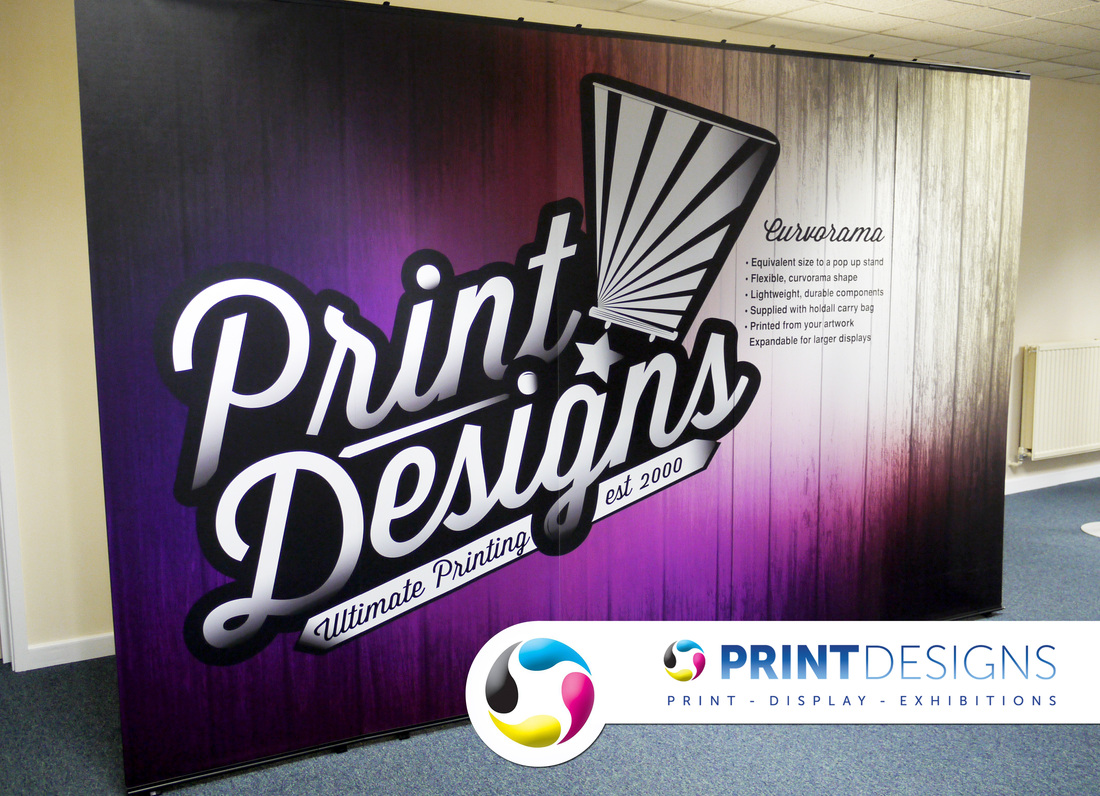
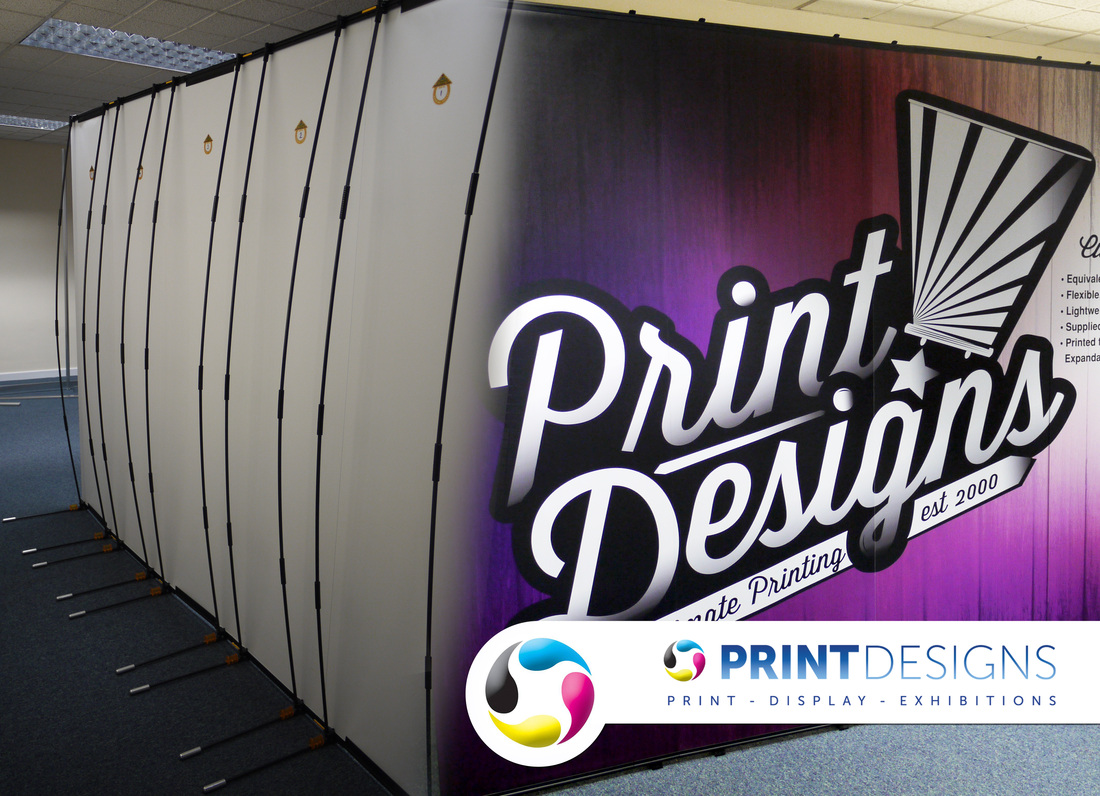
Above and Below shows the stand stood out completely straight. The two end panels and the centre panel has a curved rail and the other two panels are straight panels.
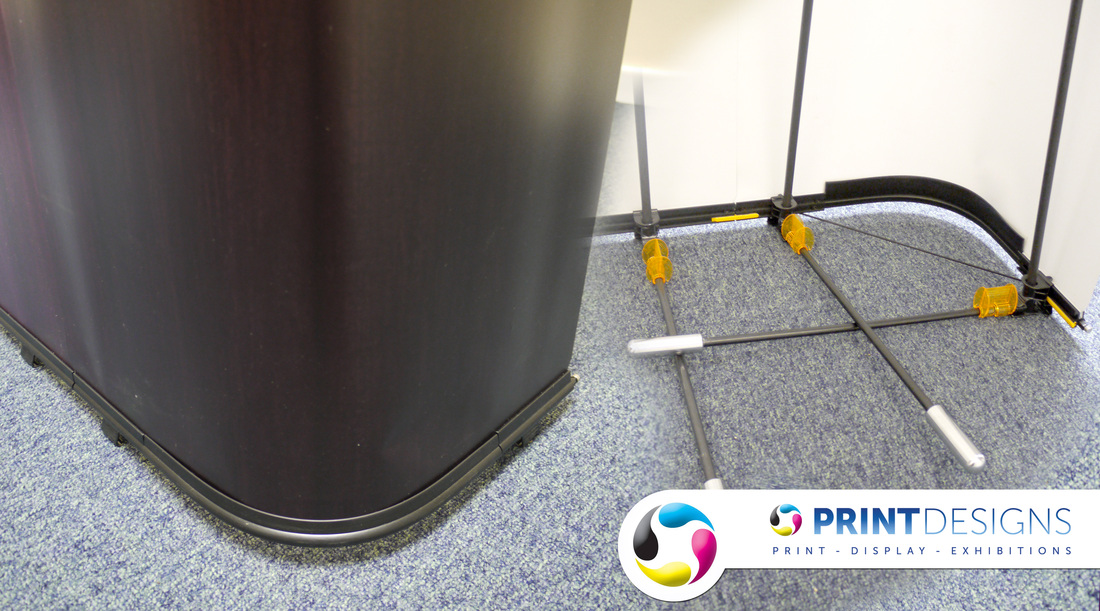
The images below show The End caps Curved in and how the feet need to sit at the back to get the perfect curve.
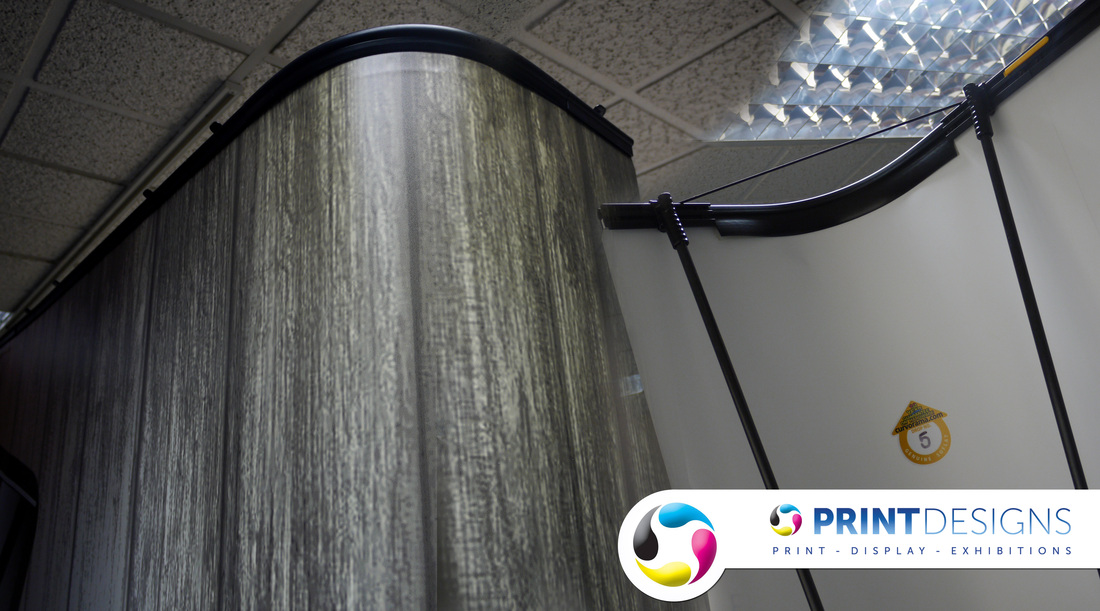
This is how The Top and bottom of the Curve in the end panels will look. when curved
Below is a example of the curvorama stand in a L Shape with how the legs need to sit behind
We hope this guide can be found of use to you, for more information on our curvorama please visit our website, please check back to find more information on other ways to use your curvorama and video demonstrations
Print Designs
Print Designs
 RSS Feed