A quick introduction on Curvorama

Curvorama is a revolutionary new type of banner display system that has the capability's to free-stand or be hung onto most common exhibition scheme walls. Until now, linking banner stands have incorporated magnetic tape on the rear of the panel and equivalent magnetic channel bars to pull the seams between panels together. Graphic panels for the Curvorama stand are produced differently with an exacting amount of bleed so that each panel overlaps and tiles together neatly and without the requirement for complicated or fiddly magnetic components.Thanks to the use of lightweight plastic and composite components, Curvorama display stands are lightweight and easy to transport. There are no heavy, wheeled plastic cases or aluminium cassettes to haul around as is the case with traditional pop up and banner stands. This makes Curvorama the ideal portable display solution for those who are exhibiting overseas or transporting exhibition materials by car.

Now lets start with how to assemble the Stand
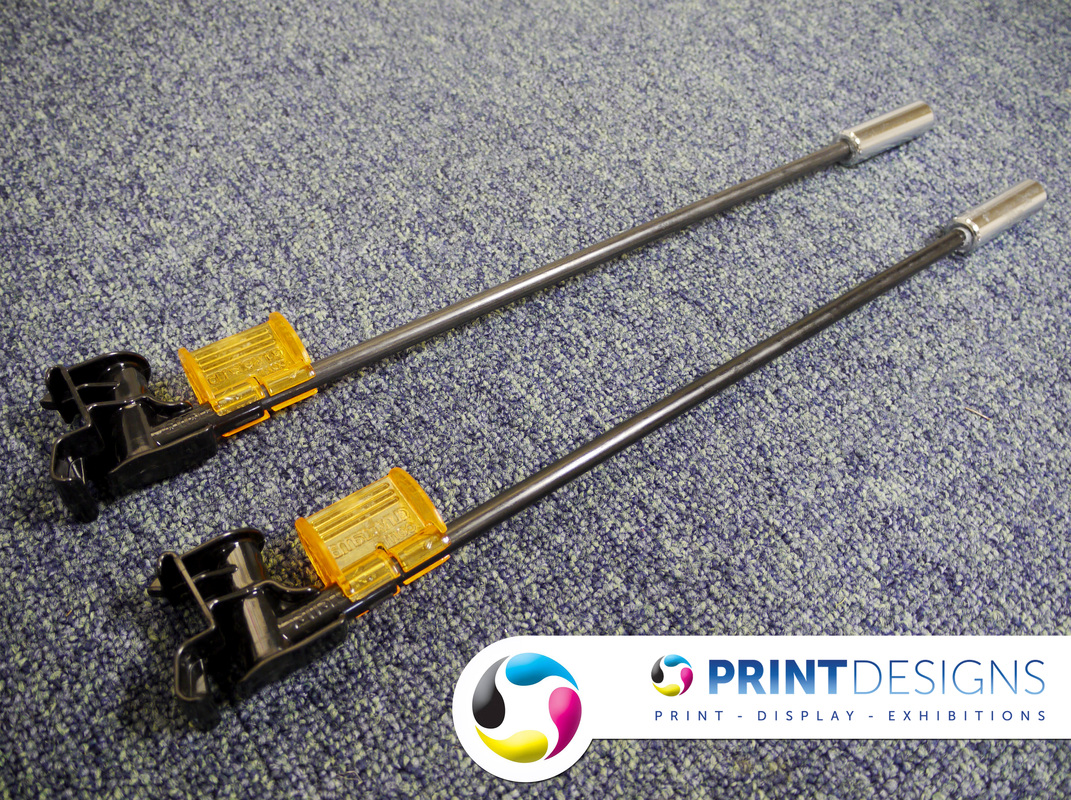
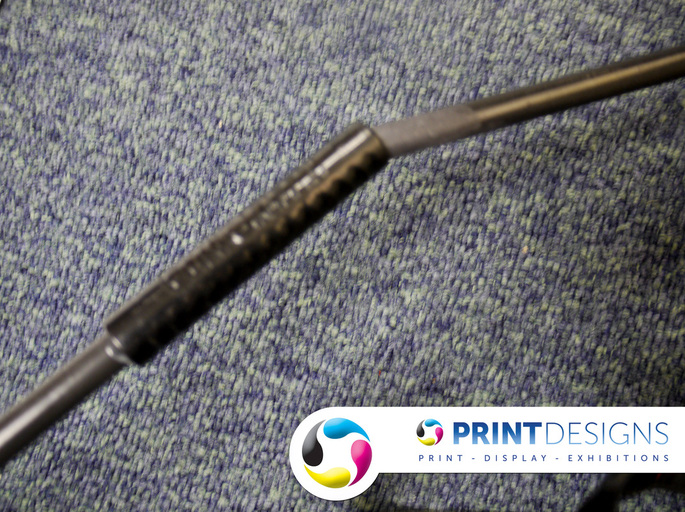
Above are the two Curvorama legs which are needed for each panel to stand free. Each leg is weighted at the back to prevent the stand from tipping forwards. The image below shows the two poles which when connected together, provide vertical strength to free standing panels.
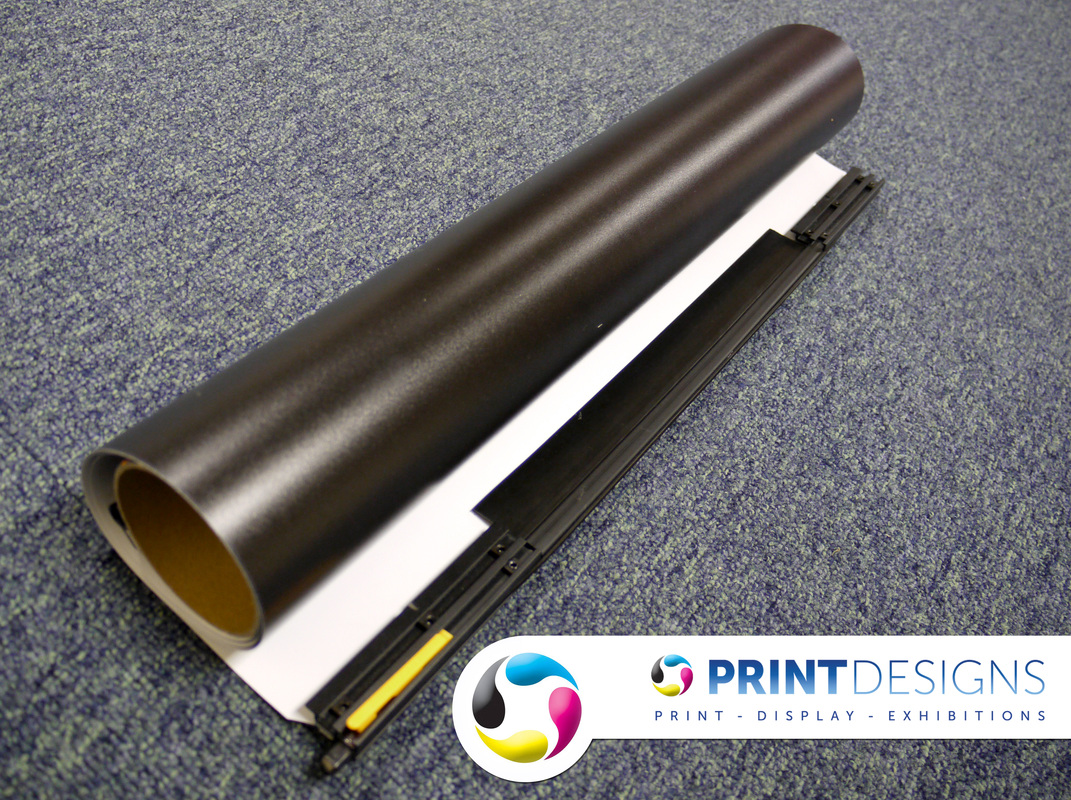
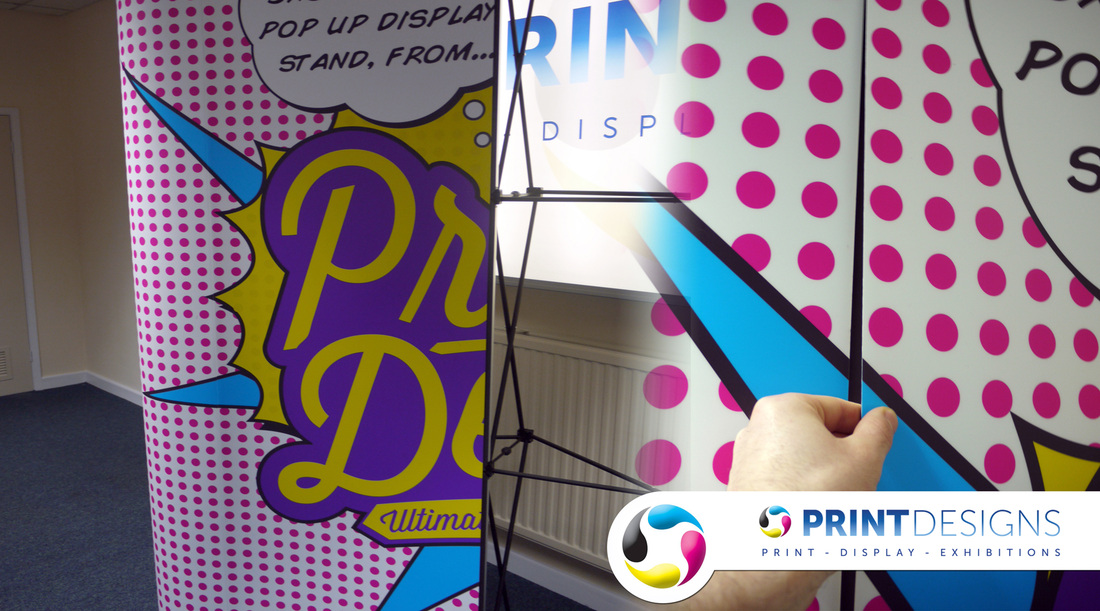
Each Panel will come wraped around a Curvorama tube to stop the panel from denting/ creasing during transportation. The tube will also keep the graphic from gaining any curves/ creases in the panel which may be visible when erected.
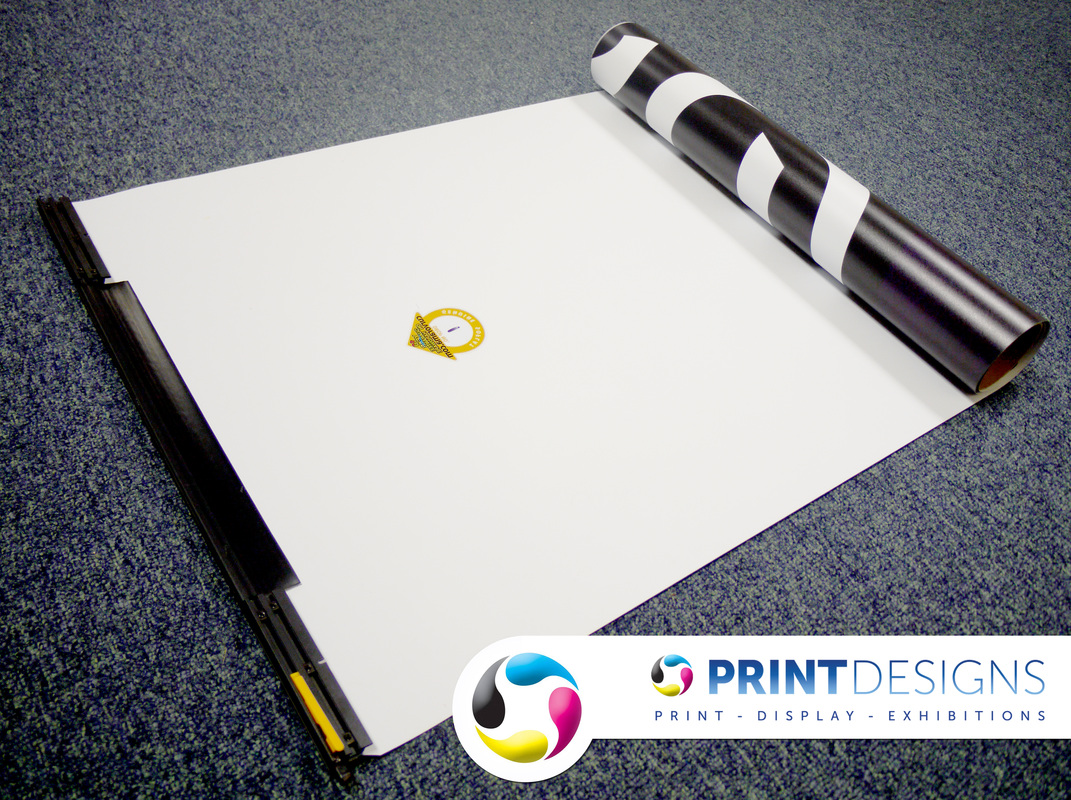
Each panel should come numbered if the graphics are built up into a sequence to create a larger design. When designing the panels bare in mind if you want to use the panels separately and in sequence ,you will need to account for this in your design work so they can be used both ways.
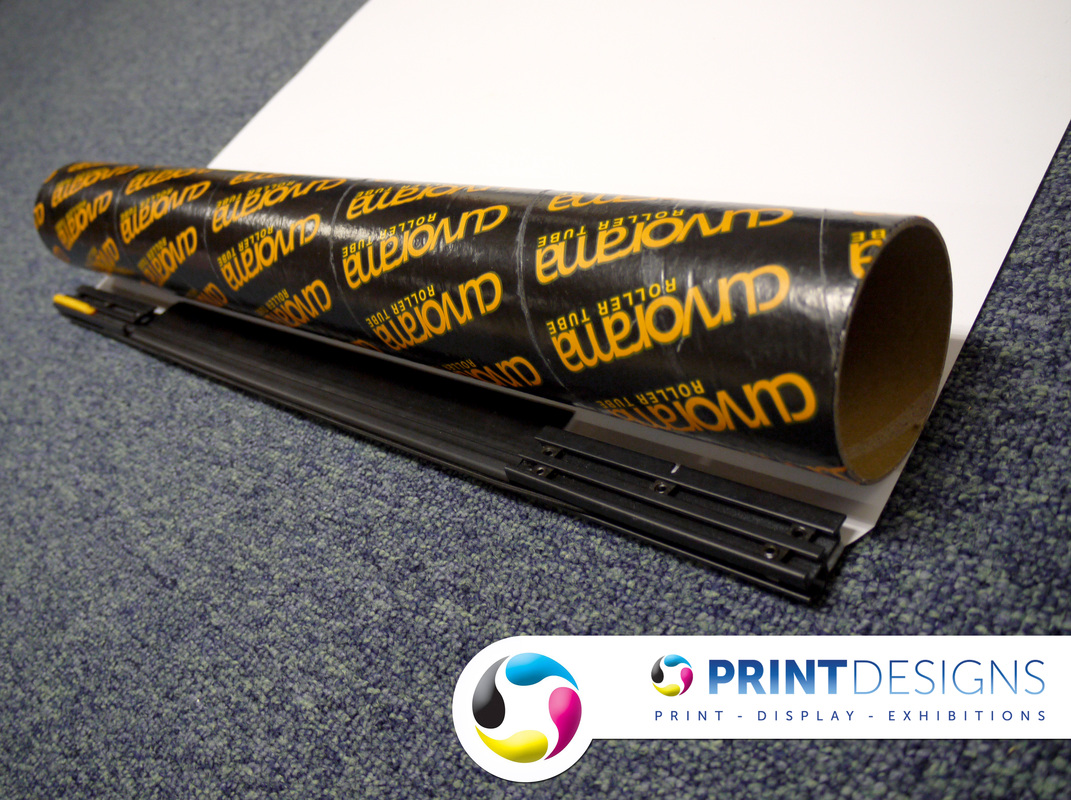
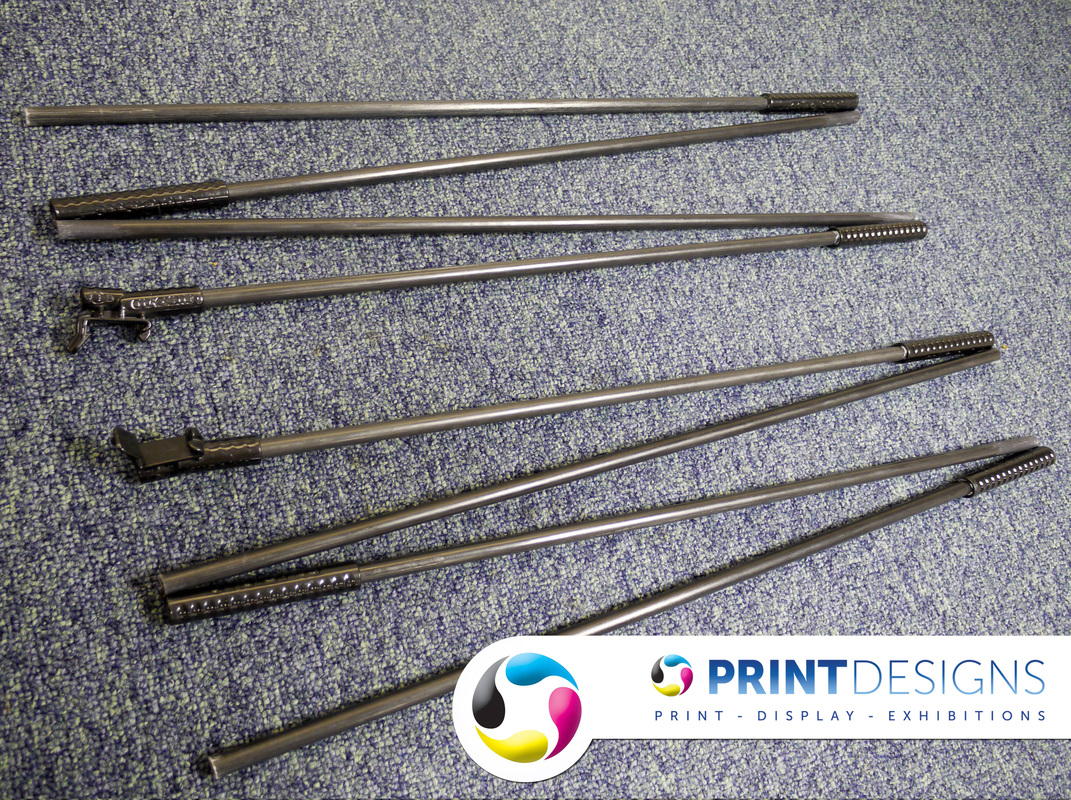
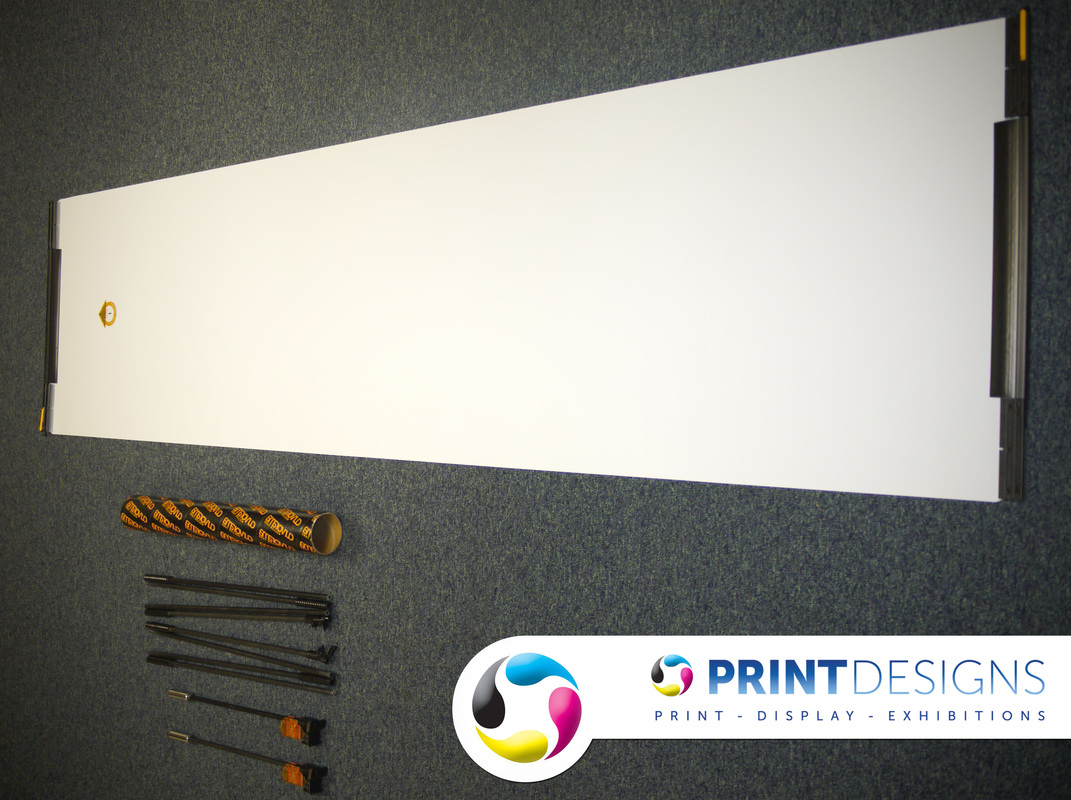
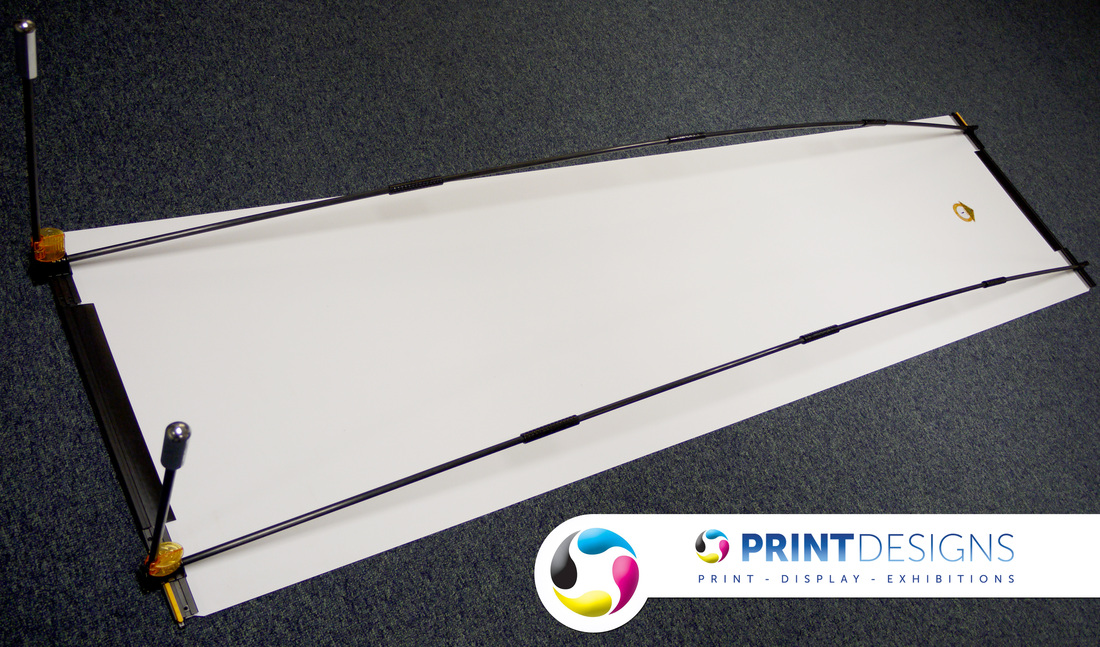
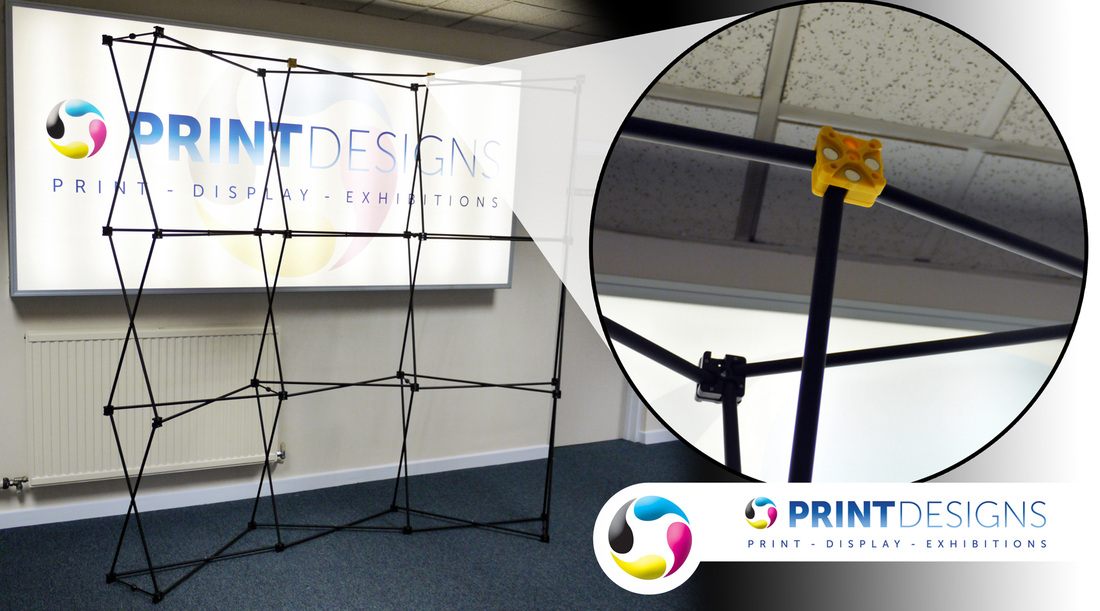
The Image below shows all the parts that you will need for the panel to be free standing.
Next you will need to connect the poles together by sliding them into the slots. Please be careful when taking the poles apart when putting the stand down, as the glue with hold the adapters together can sometime give way. This will not break the poles but can cause issues when putting the poles back into the carry case. 
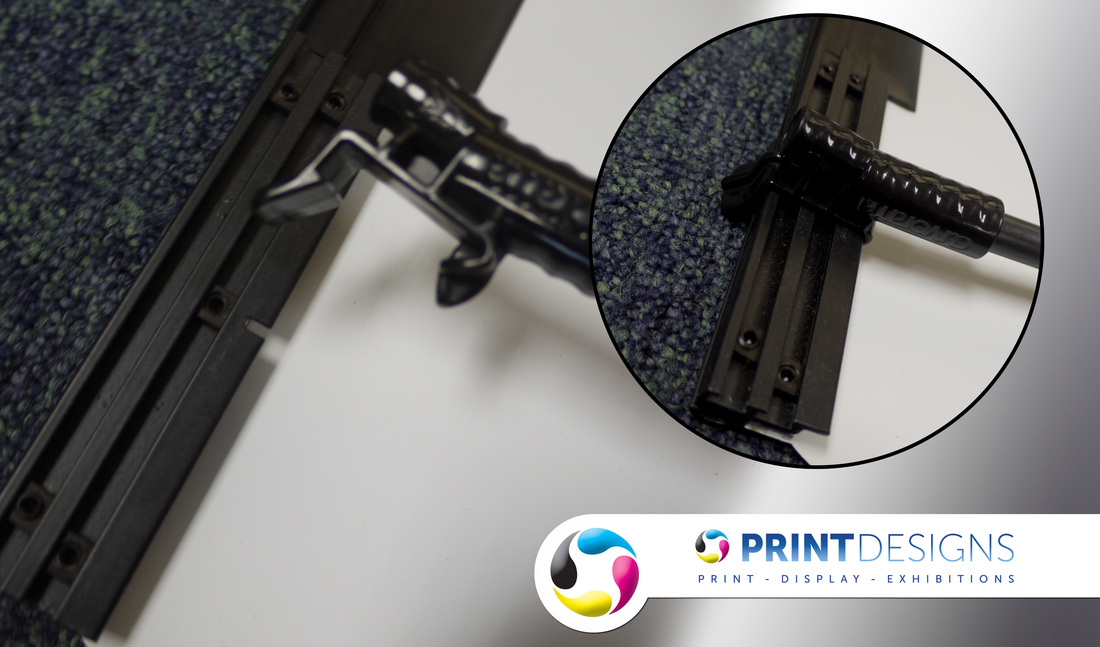
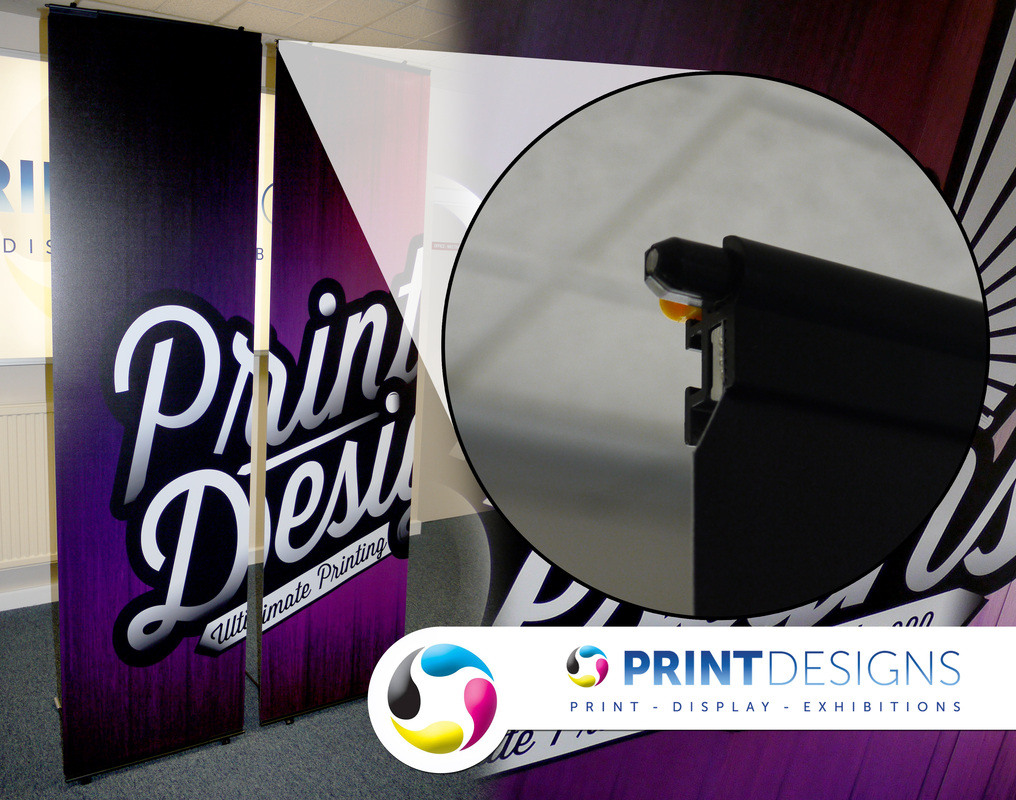
Once the poles have been connected, The head at the top of the pole clips either side of the rail at the top. The head will fit into the grove cut into the rail,The image below shows a example of this.
Next ,clip the feet into the groove in the rail at the bottom of the rail. you will find it easier to not attach the poles to the feet first as this can make it hard to get the feet to connect to the rail.
Once you have the bottom feet connected slide the poles into the feet. This will now enable the stand to stand free standing on its own.
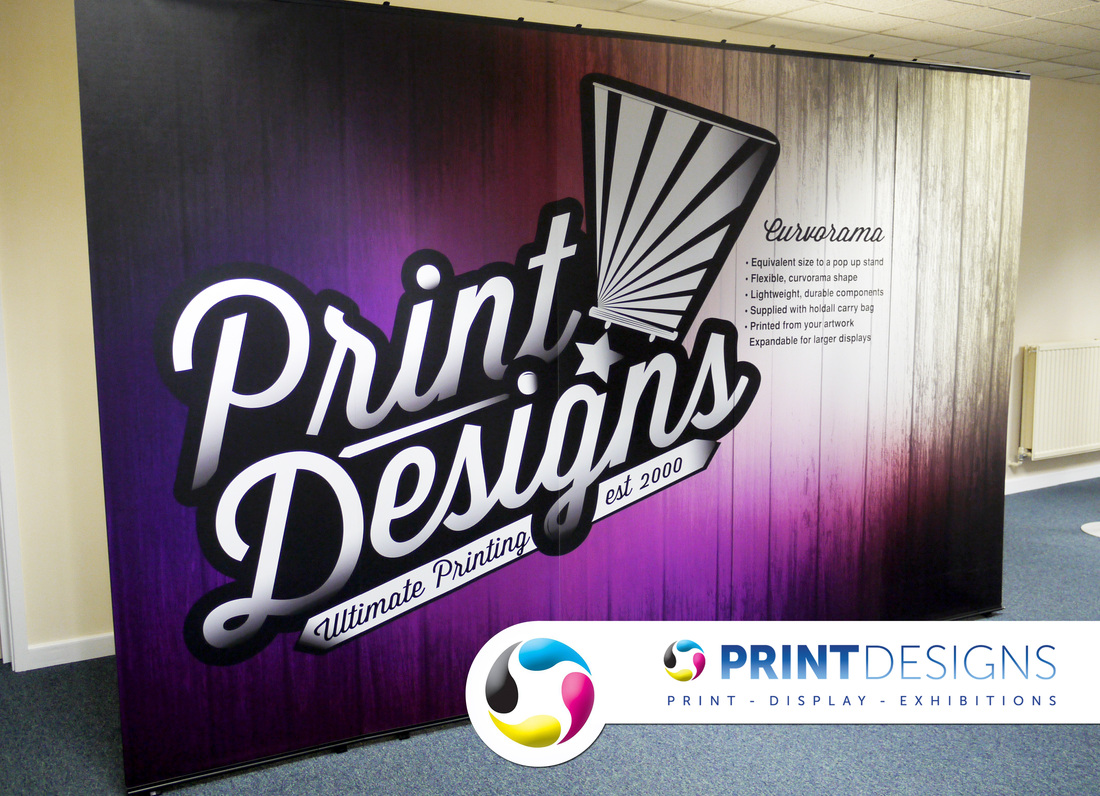
To get the Curvorama panel to now free stand. take the stand half way down the poles and stand it up vertically. With the panel being light weight anyone should be capable of this.
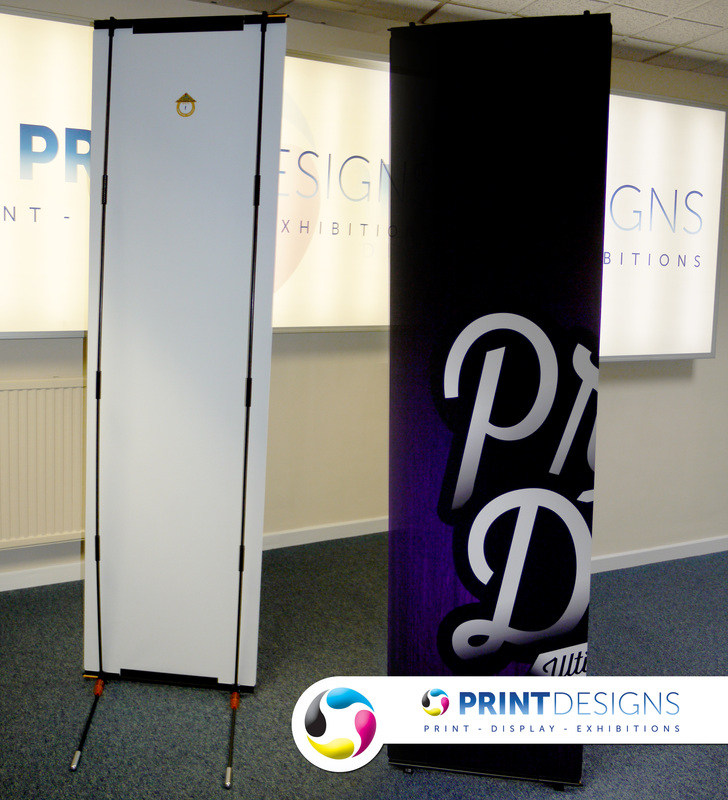
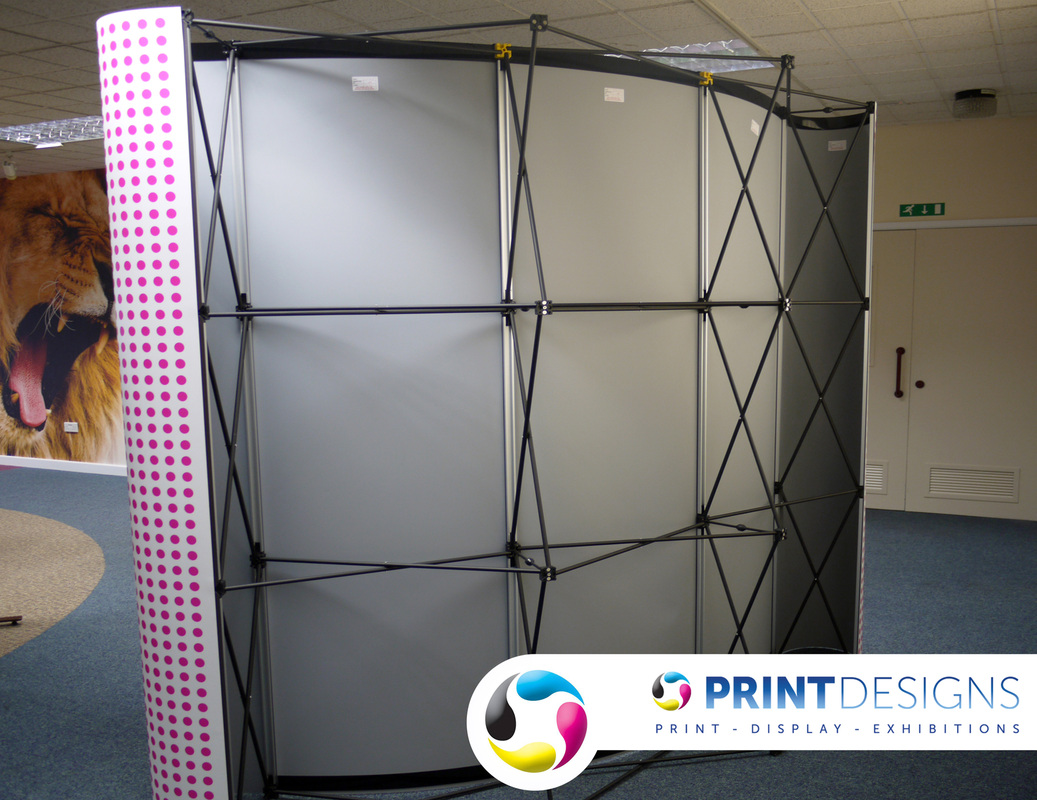
The image above shows what the Curovrama stand should look like free standing from the front and behind.
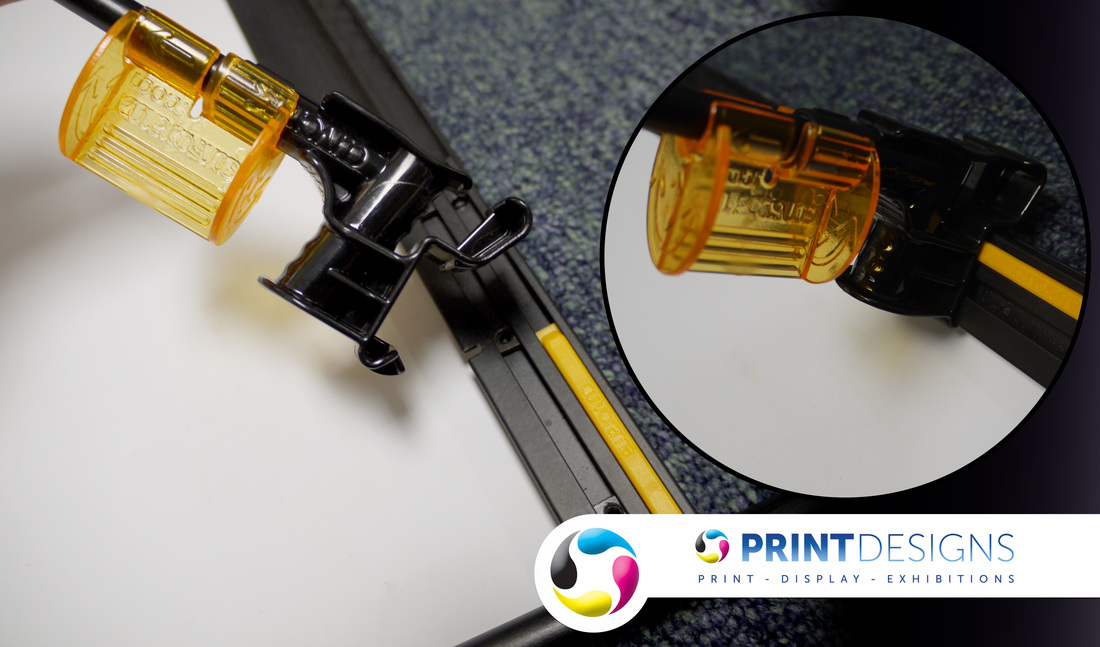
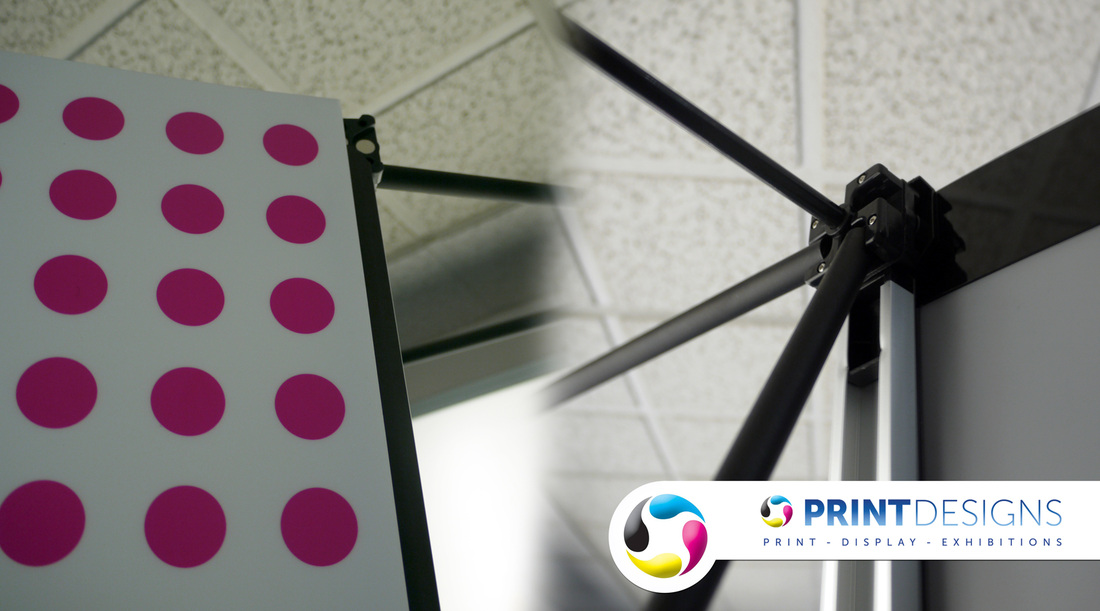
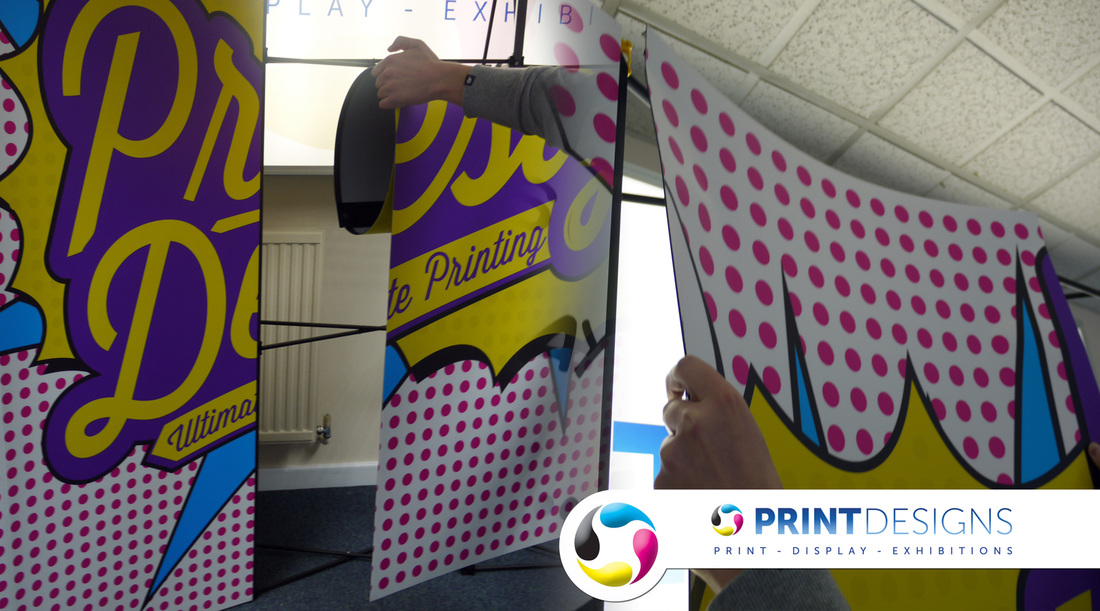
In the ends of each of the rails, there is a slot left open on the one side & a entry hole left on the opposite to allow curovorama panels to be connected together. To Connect the panels together the notch needs to be slid into the opposite entry hold on the panel. This needs to be done for the top and bottom of the panels.
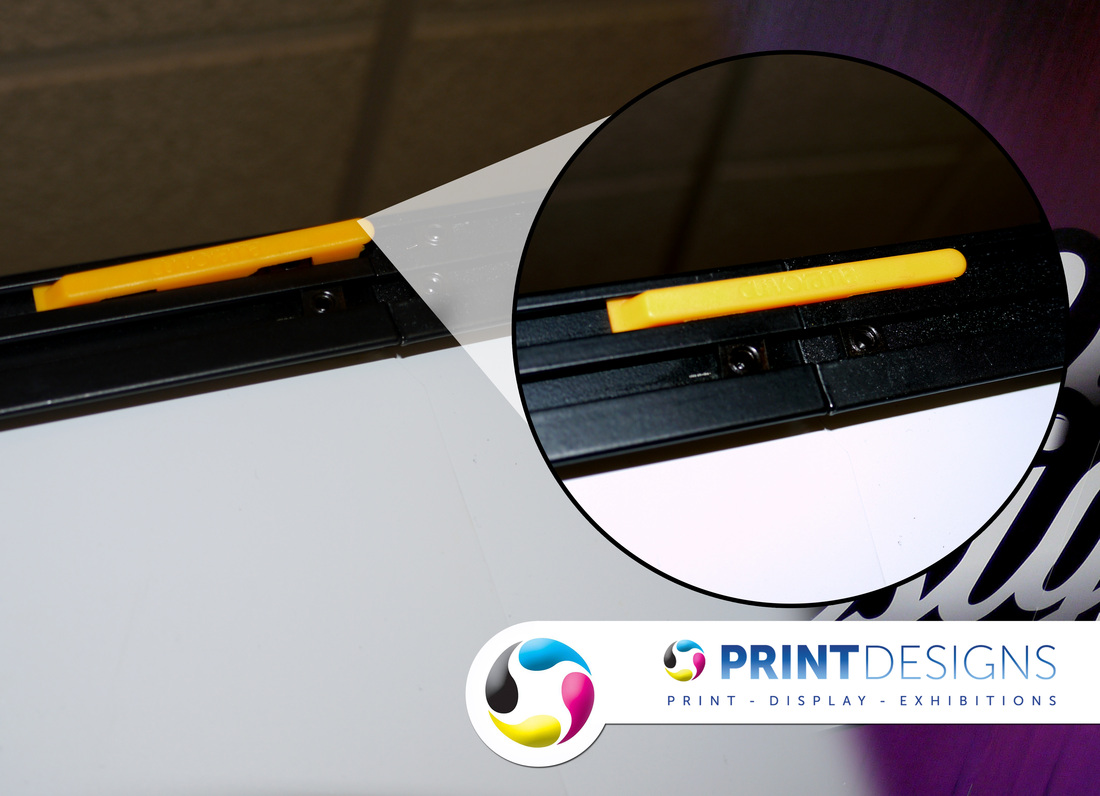
Once thetwo stands have been connected there is a yellow joining clip which needs to be connected between the two panels. This strengthens the connection to stop the banners from coming apart.  To get the slider to slide across, pull the yellow clip out on the one side then pull the yellow clip across to the other banner and then push the clip back in. This needs to be down for the top and bottom of the rail.
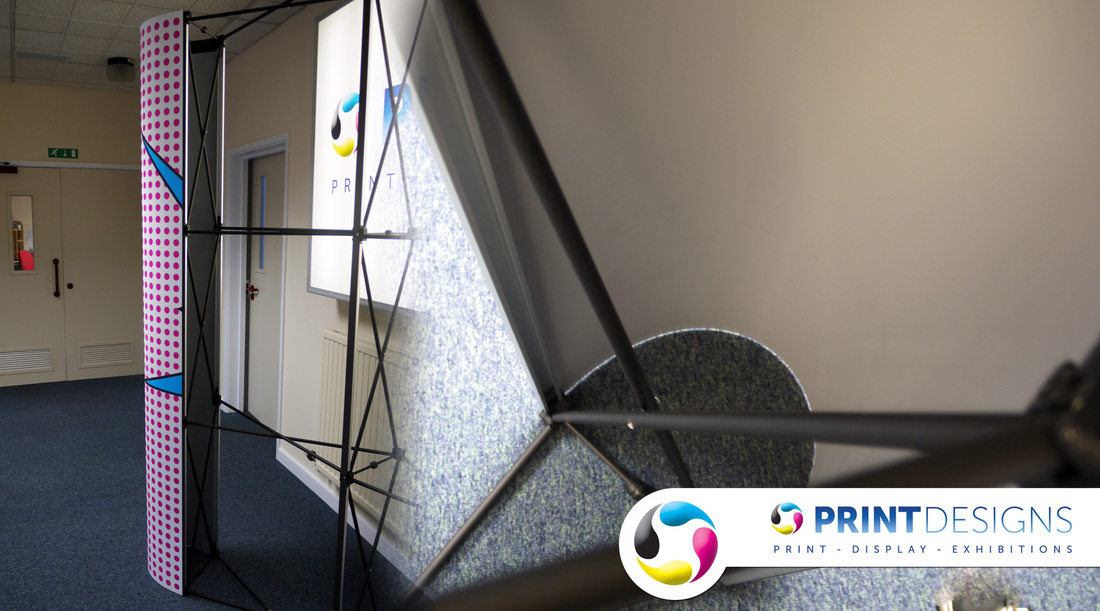
Once you have connected the two panels together, slide your hand between the two panels to get the to sit flush with each other. It does not matter which panel sits over which, as they will match up either way.
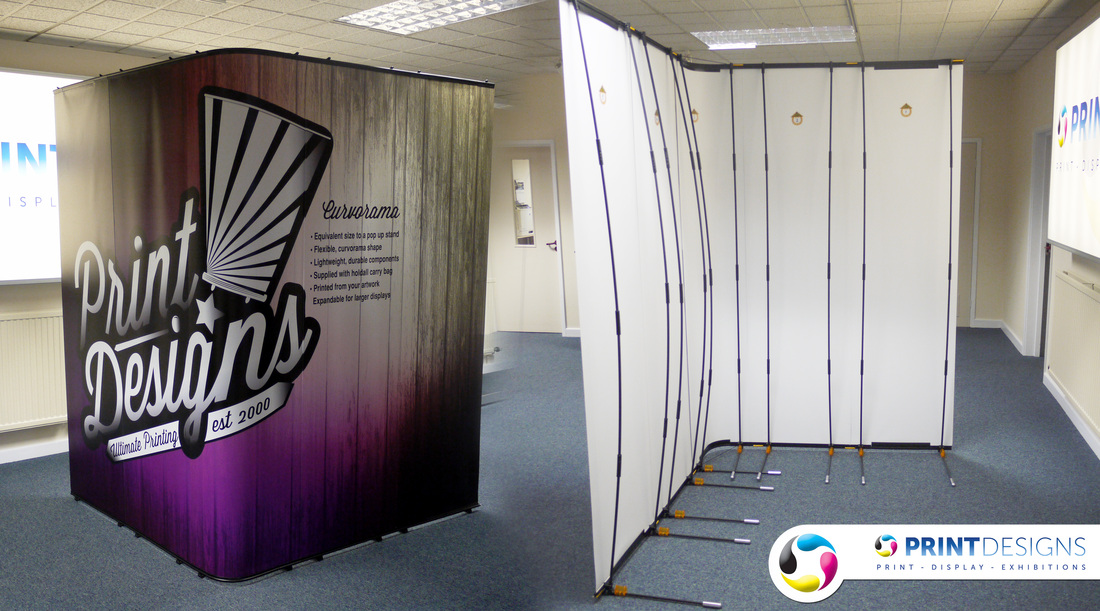
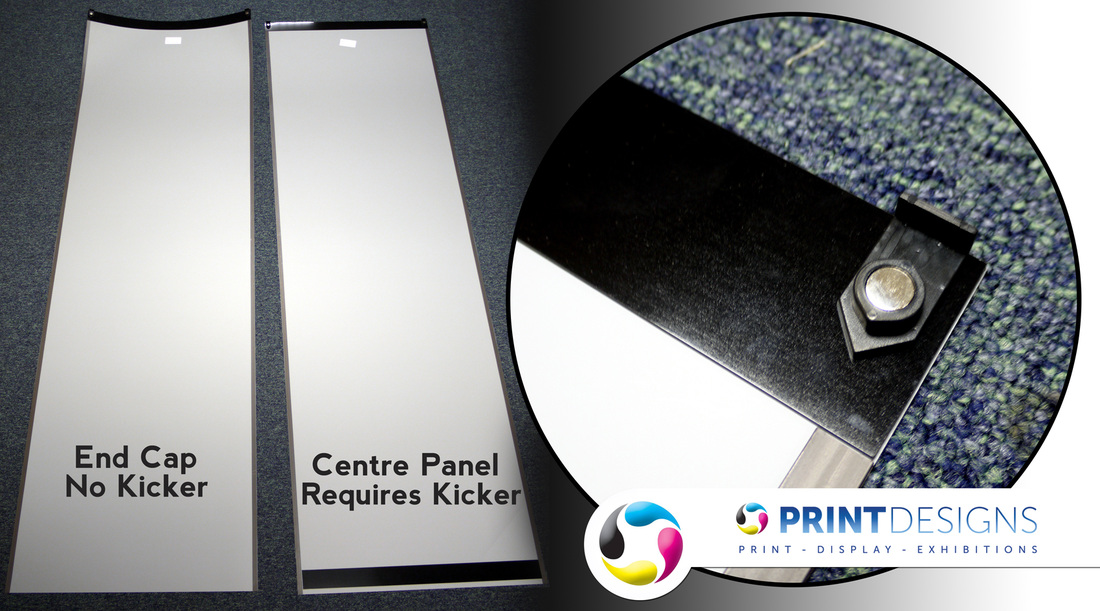
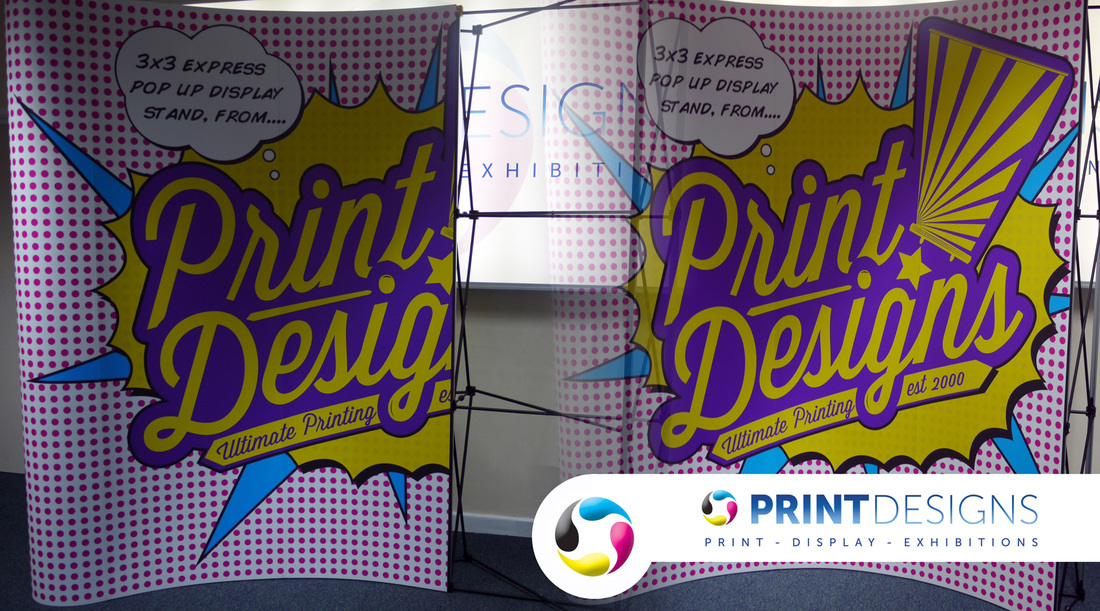
And that's all there is to it. Simply repeat the same steps for each panel to assemble multiple panels together. Once all your panels are assembled, it is up to you how you want your curvorama panels to sit. Remember that if you want all your panels to have the ability to curve, they all will need curve rails as some of the will have straight rails which will not allow them to curve.
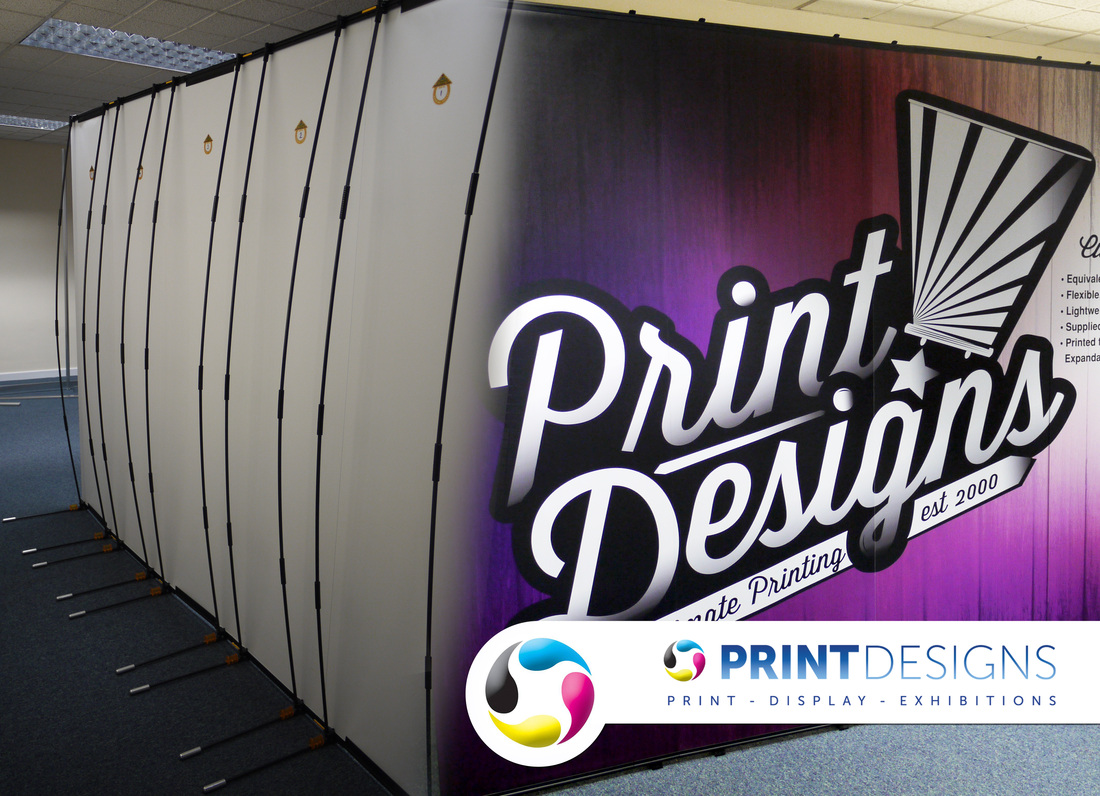
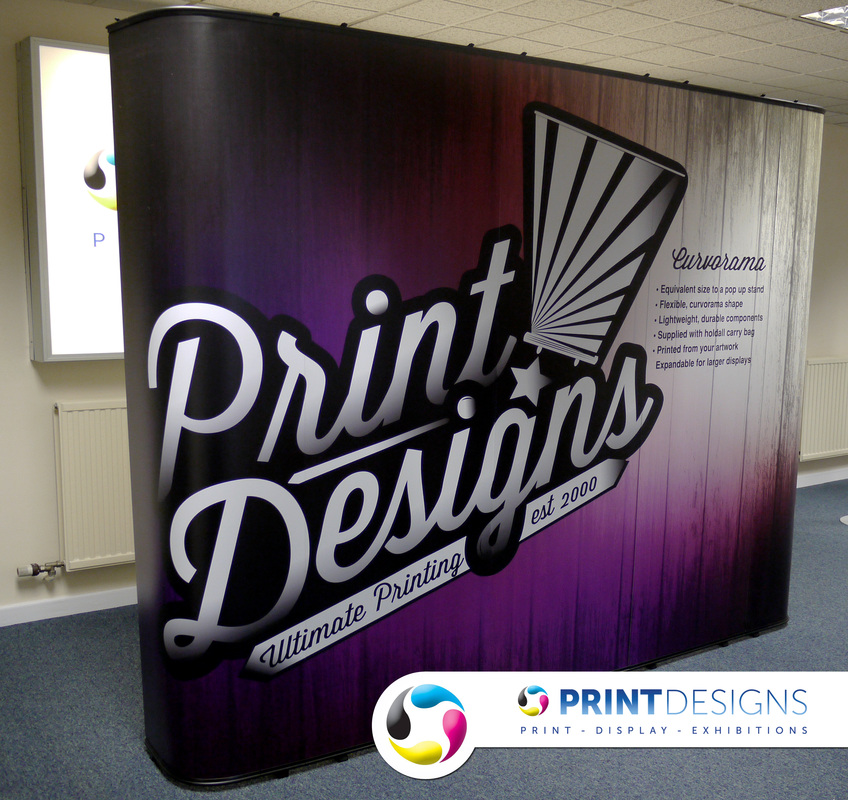
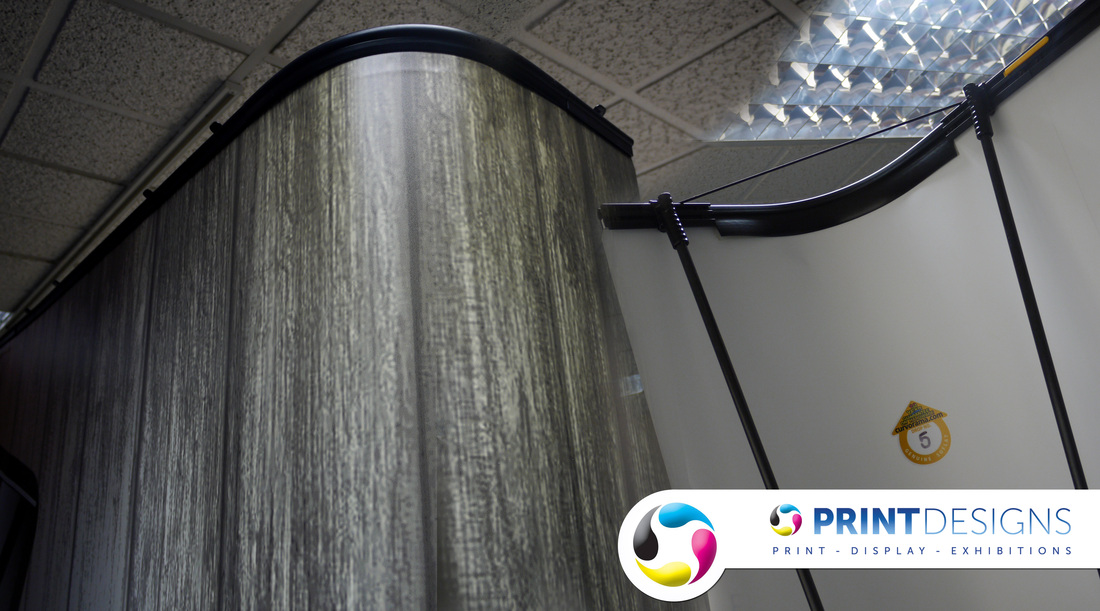
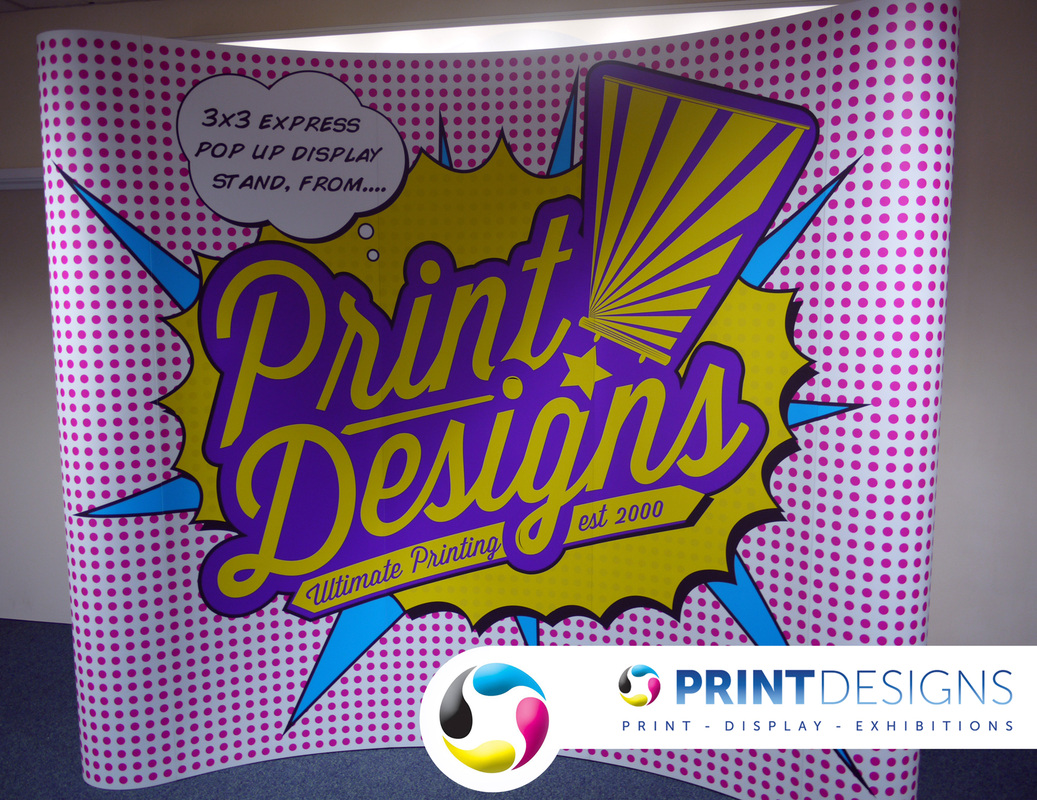
Above and Below shows the stand stood out completely straight. The two end panels and the centre panel has a curved rail and the other two panels are straight panels.
The images below show The End caps Curved in and how the feet need to sit at the back to get the perfect curve.
This is how The Top and bottom of the Curve in the end panels will look. when curved
Below is a example of the curvorama stand in a L Shape with how the legs need to sit behind
We hope this guide can be found of use to you, for more information on our curvorama please visit our website, please check back to find more information on other ways to use your curvorama and video demonstrations

Print Designs
 
The Z Up Lite is popular literature/brochure holders. The compact folding mechanism makes this stand ideal for trade shows and exhibitions where portability is essential. This Product is very simple to set up and can be assembled in less the 60 seconds.
The Zed up Lite comes in a Compact Aluminium Flight case with a padded Inside to protect the literature stand from damage during transit.
Firstly remove the stand from the travel case and lay it with the base on the floor
The Zed up Lite use's a Cantilever Mechanism which makes this literature holder one of the easiest products to assemble by simply pulling it up
Once you have the pulled the literature stand up, don't let go of the stand until the catchment at the bottom has been secured
Next take the catch at the bottom and swing it over 180 degrees into place, remember to allow yourself enough room for the catchment to sit in place as the sliding slip can prevent the catch from sitting flush
once the catchment is in place, slide the slider over the catchment to stop the stand collapsing back down on its self
And that's all there is to it. your Zed up Lite Literature holder should now be in place ready for you to use.

www.printdesigns.com
 
For this Guide we will be using a 3×3 Express pop up frame & graphics although the same technique can be applied to a variety of Magnetic pop ups.

The graphics we are using are printed onto genuine Opal jet polyester film at 300 Micron thickness. Applied to the top of the Opal jet we have a 125 micron thickness, scratch resistant laminate film. The laminate prevents the prints from getting scratched as such damage would ordinarily spoil the overall look of your pop up.

There are many Opal Jet look-a-like polyester display films on the market, from experience we have found Opal Jet performs better than many third party alternatives. Opal jet is extremely good for rolling up but also maintains it’s shape. Care should be taken when handling Opal Jet panels to prevent creases or dents that cannot be removed without having the graphics reprinted. Each of the panels we are using in this guide have been printed on a HP Designjet Z6200 at 2440 DPI for the best quality print for the pop up display.

Step One: Assembling the Frame
Although this step may sound stupid, it is important to get your stand stood up the right way as it can be quite confusing for some people when they try to apply graphics and they won’t attach to the frame. Each frame will look slightly different so please bear this in mind.

On the Printdesigns.com express frame we are using, the top of the frame has two centre yellow pieces that can help you easily distinguish the top from the bottom. As you can see from the image below, the bottom set of square nodes does not contain a complete set of magnets unlike the yellow square nodes at the top.

The framework will open out when pulled in separate directions. The tubing is made of a light weight aluminum to make the product extremely light but also strong and durable so it can be opened out and packed away repeatedly. When erecting the frame, you will notice that opposing sets of magnetic arms will converge on one another until the snap against one another, effectively locking the frame into the upright position (see below).

It is important that all of these extended hubs are magnatised toegther before continuing any further. When pulling the frame out they should all automatically link together but sometimes if the frame hasent been fully extended it may look like the frame is erected right but may not be. If they are not connected this can cause the frame to collapse in on its self before or whilst attempting to hang your panels from it which can lead to damage to the panels. if you find you have two extended hubs that are not connected together, you can gently pull both of the nodes which they are connected in towards each other. this will allow them to connect together. Below is a image of what the frame should look like when fully erected.
The next part involved in setting the frame up is attaching the magnetic bars to the node magnets. Each of the nodes will contain 2 magnets on the verticals with notches where the magnetic bars will fit tightly. This frame requires 18 magnetic bars, frames with more box sections will require 3 more magnetic bars per box section. The magnetic bars will all be one size depending on the frame size. By adding the magnetic bars these will also add strength to the frame preventing it from collapsing down on itself.
Step 2: Applying The Graphics to the Frame

The next step to setting up your pop up stand is applying your panels to the stand. On all magnetic pop up stands the panels will have strips of magnetic tape applied down both side of graphics with a hanger across the top. The advantage to using magnetic hangers is that they allow the panels to sit flush next to each other giving your pop up stand a professional look. The other advantage to using a magnetic frame & hanging panels is the option to have more panels printed with different designs for different occasions whilst still using the same frame. This option makes these magnetic pop up a more pocket friendly alternative to other promotional products available on the market such as banner stands or self standing graphic displays. Panels for these frames are also available in a Nylon fabric which can then either have panels with a hook velcro attached to the panels or posters/attachments attached also with hook velcro.
With the 3×3 Pop up we have 3 centre panels and two end caps. For this guide we are using a Express hanger which will fit onto our frame.

Different frames will need specific hangers so please be careful when purchasing panels that do not come with a frame that the supplier provides the correct hangers. The adhesive that is used to hold the hanger to the panel is designed for one use as it is extremely strong. Trying to remove the hanger is possible but not recommended as this can lead to Dents, Curling and Creasing in the panel.

Central panels will all have a kicker (plastic strip) at the bottom. The kicker is required in the centre panels to maintain the panels shape and to stop the panel from bowing in towards the centre of the bottom of the panel. End caps should not have a kicker on at the bottom as this will prevent the end cap from bending round to the back of the frame. You should have 2 End caps on with your pop up stand.
When placing your panels onto your frame, it is easier to start with the first panel which is a end cap. This will make it easier when aligning up panels.

It is important that the hanger connects correctly with the top node and is seated correctly. If the hanger does not fit flush in the node this can cause the panel to not sit right causing alignment issues or the panel to fall off, that could cause damage to the panel(s).

It is best to attach the hanger to the nodes and roll the panel down the magnetic bars slowly. When placing the panel make sure the panel only sits over half of the magnetic bars all the way down to the bottom. if the Panel sits further over the halfway point of the magnetic bar you will find problems getting all the panels to fit onto the frame properly. Each of the magnetic bars will have a groove that runs down the centre of the bar for reference on where the panel should sit on the bar.
When applying the second panel, you may find it easier to get the hanger to sit on the frame by only slightly curving the frame in on its self. once the hanger has clipped on to the top nodes, roll the panel down the magnetic bars as previously talked about above.
To get the panels to perfectly align, you might need to adjust when hanging. The panels will allow for slight adjustments vertically so you can get connecting graphics / text to line up. Slowly sliding you fingers behind the graphic whilst applying the panels to the frame is the best and most accurate way to line graphics and text up.
Continue to apply the panels using the same technique until all the panels have been fitted to the frame.
This is what the Pop up stand should look like once all the graphics have been applied to the stand.

The process should take you no longer then 10 minutes to get set up. The more times you erect the stand and apply the graphics, the quicker you will eventually get at doing this. Please take your time when applying the graphics until you feel confident as it is easy to crease and dent the panels if they are not treated with care.
I hope this instructional guide has been useful. A good large format printing company should be able to provide replacement graphics for almost any type of pop up display system and will be able to provide help and assistance with regards to setting up of artwork.

Printdesigns Limited are suppliers of portable exhibition stands, pop up stands and banner stands. For more information about Printdesigns or to find out more about the products we provide, please visit our website or call to peak to one of our team.